on Nov 16, 2024 39 Comments
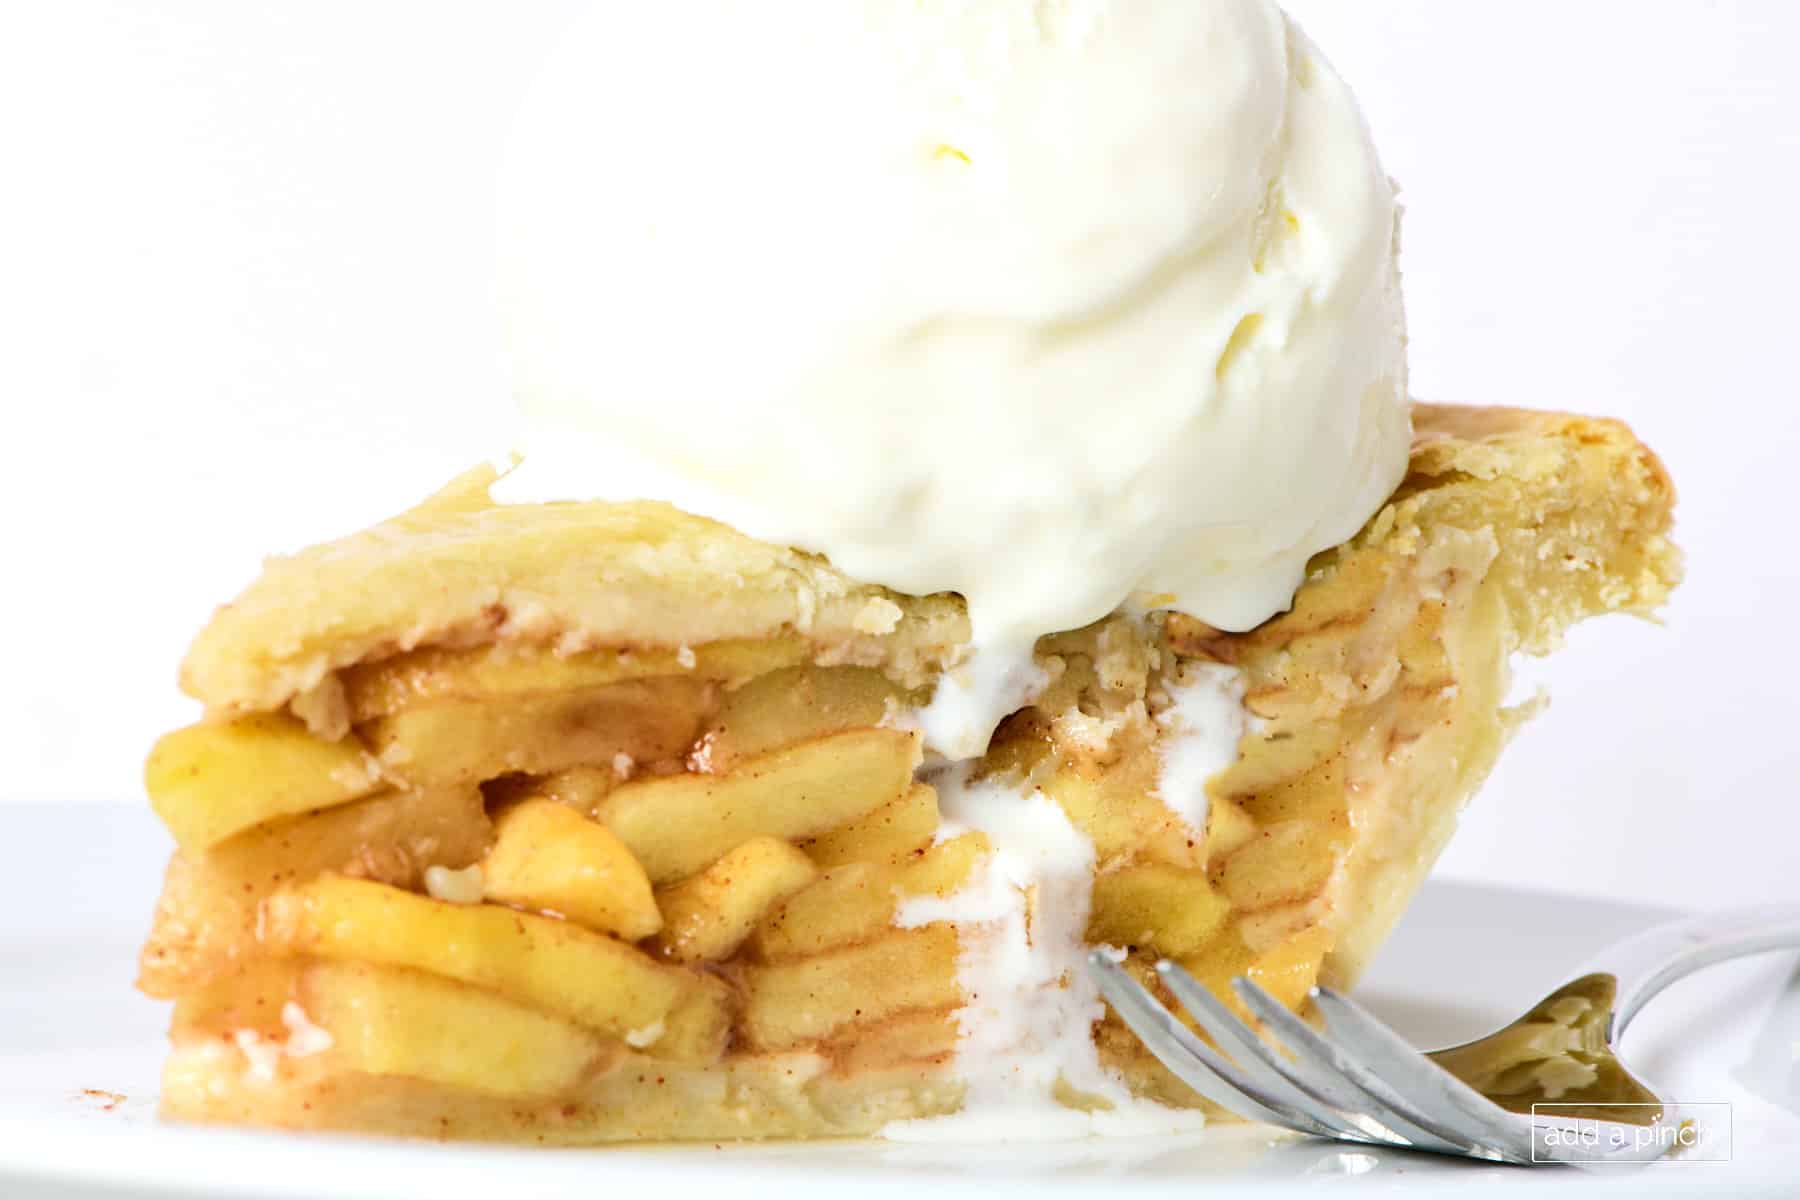
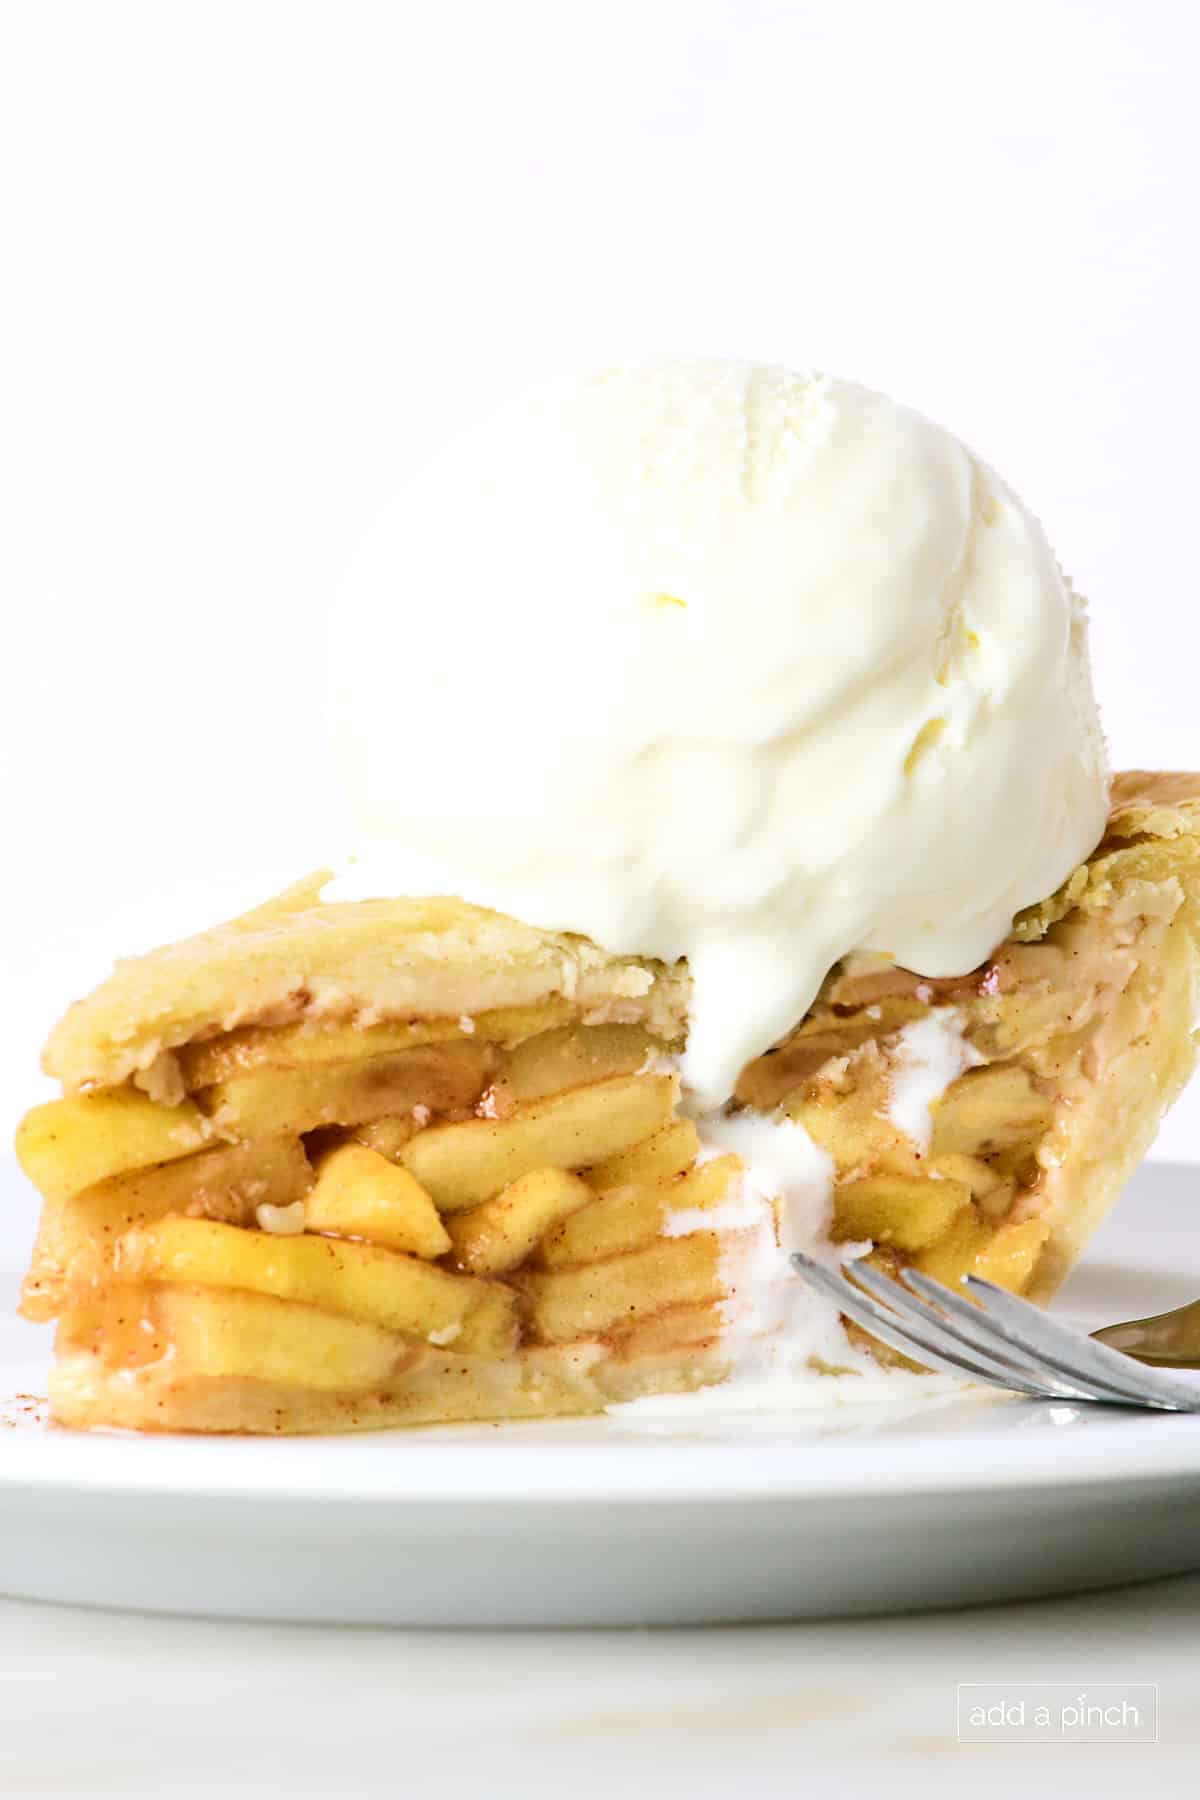
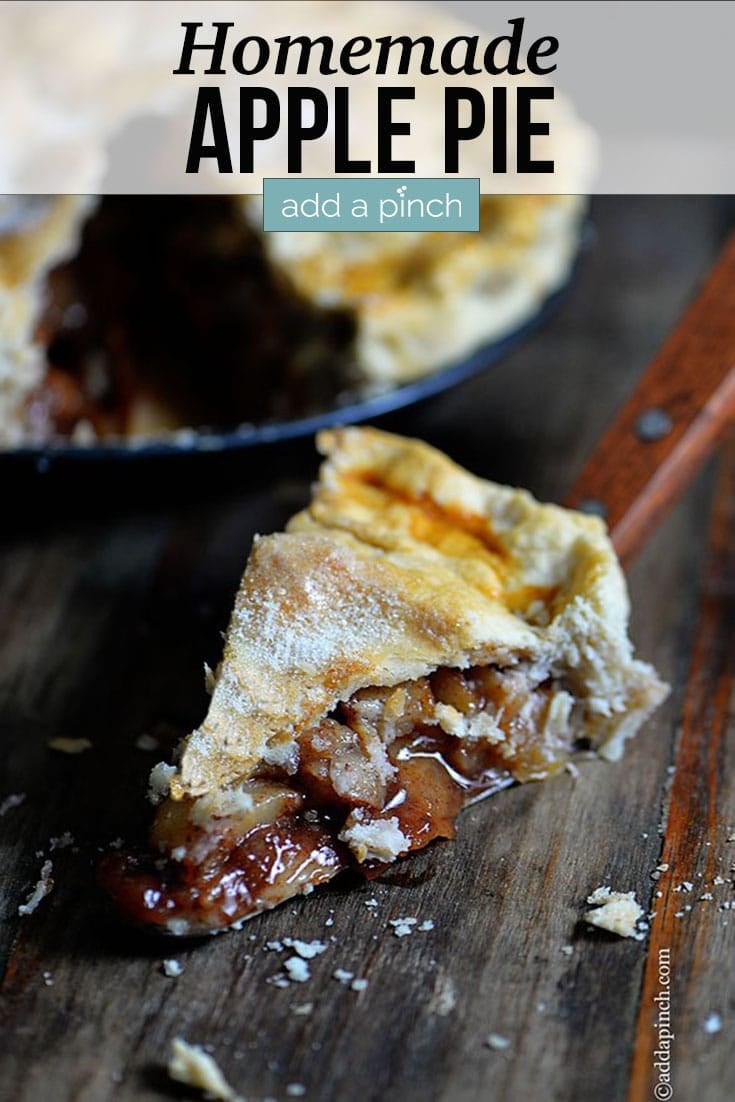
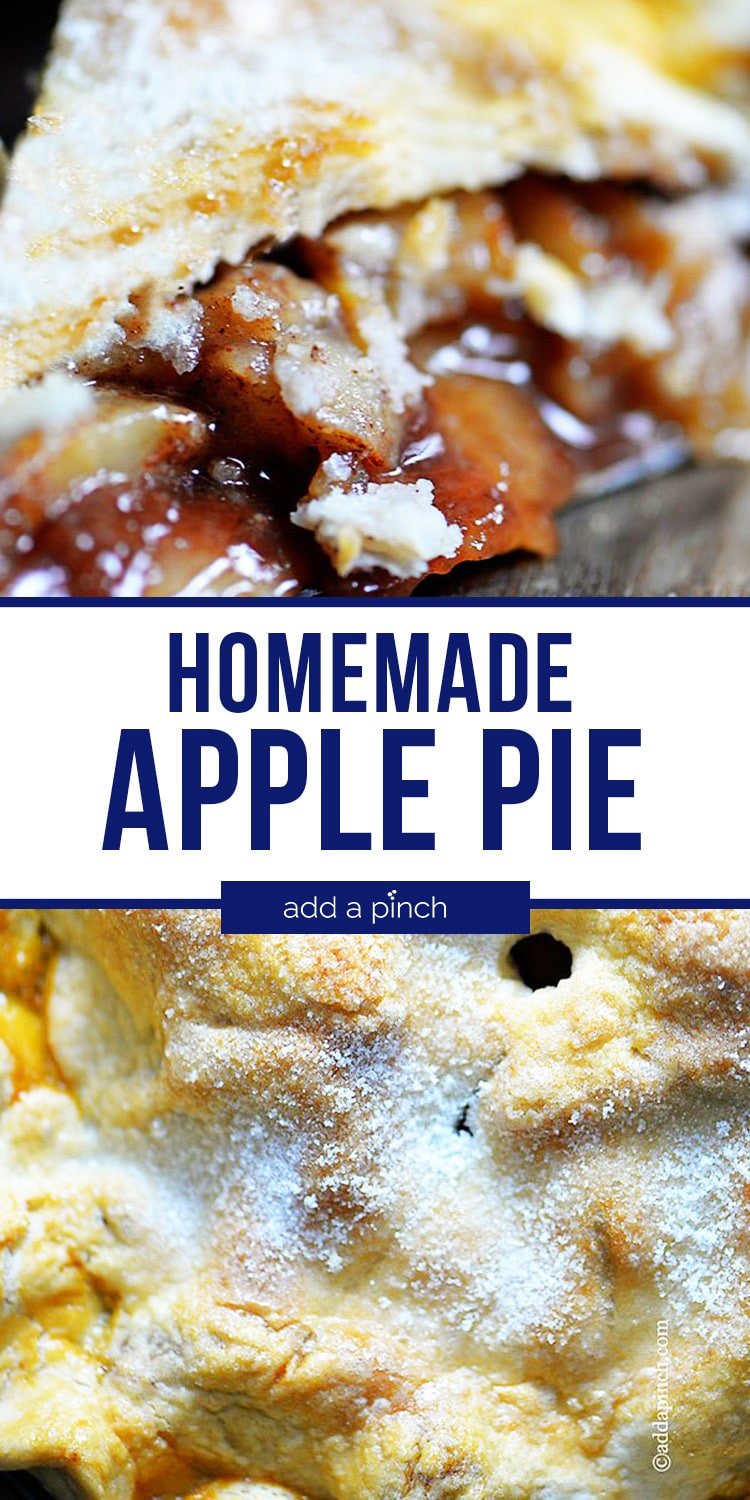
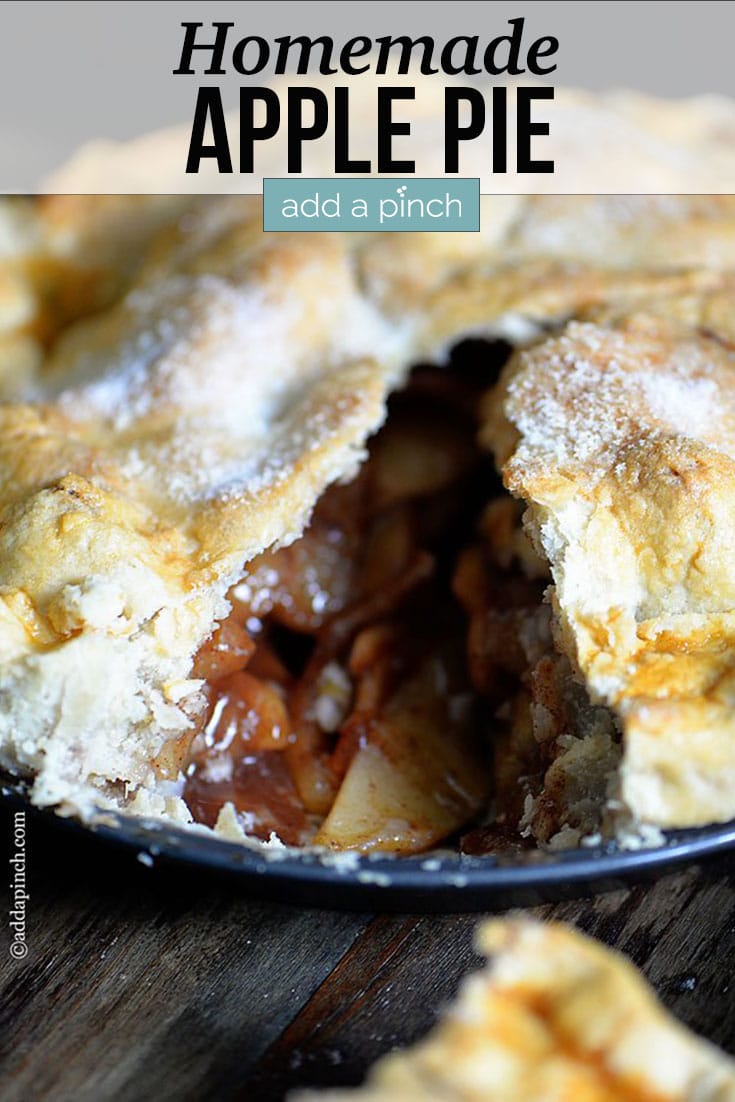
My Favorite Apple Pie Recipe
This apple pie recipe was my Grandmother’s and is one that I will forever treasure. It is as simple, classic, and perfect as any apple pie recipe can be, and yet it holds so many memories. I first shared this recipe in 2013, along with the story of my Grandmother walking me through making it as a newlywed. I know recipe stories aren’t always loved by those simply looking for a tried and true recipe to make, but I can’t remove it from this recipe. It is too near and dear to me. I’ve just moved it below the recipe card so that if you’d like to read it, you can.
What are the Secrets to the Best Apple Pie?
What are the Best Apples for Apple Pie?
While my Grandmother only used one type of apple in her apple pie, through the years of experimenting, I found I loved to use a combination of apples. Baking apples for how soft they become, eating apples for their crispness and texture, and Granny Smith for their tartness. But, of course, you can experiment with the combination, or lack of combination, of apples that you prefer. Tart Apples: Granny Smith Baking apples: Cortland, Braeburn, Rome Eating Apples: Honeycrisp, Fuji, Sweetango Here’s how you make this family-favorite pie:
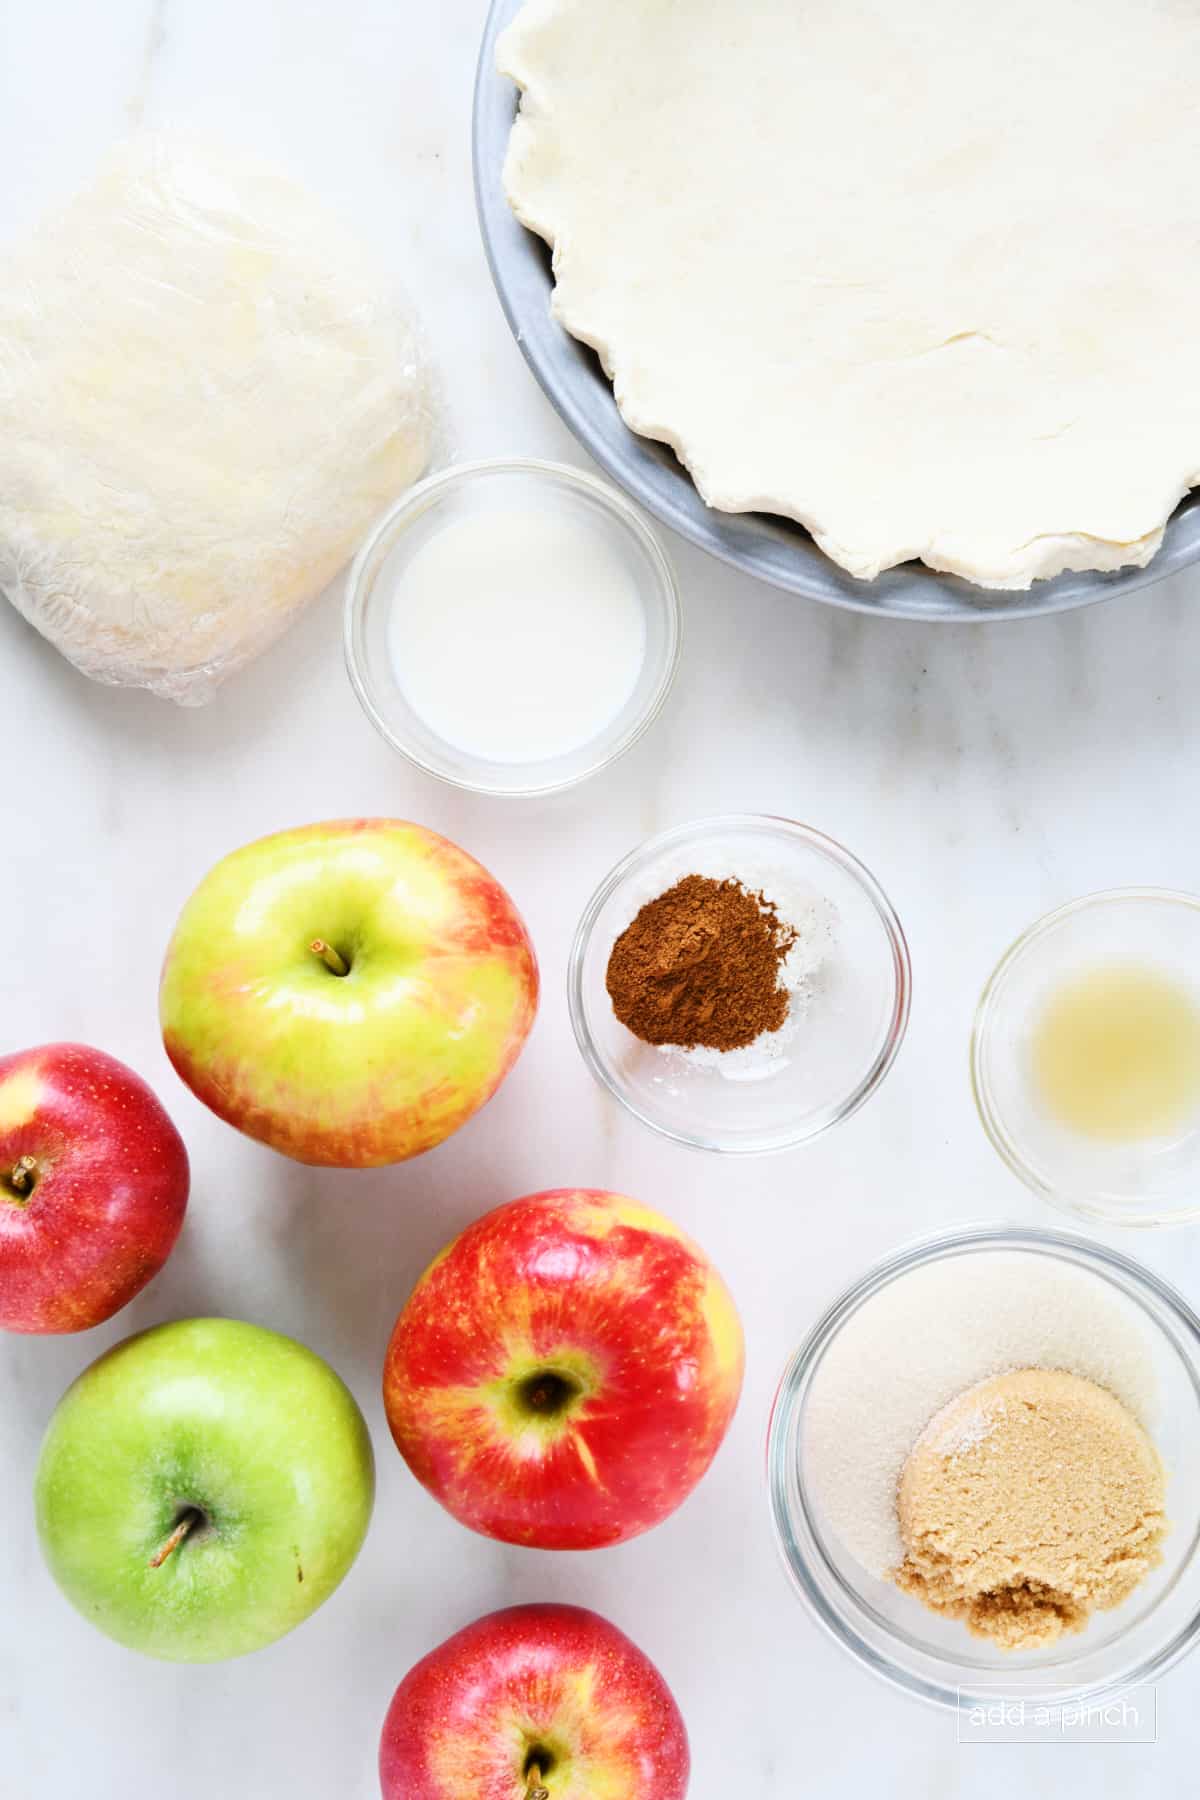
Ingredients
Be sure to see the recipe card below for the full listing of ingredients, instructions, notes, and estimated nutritional information.
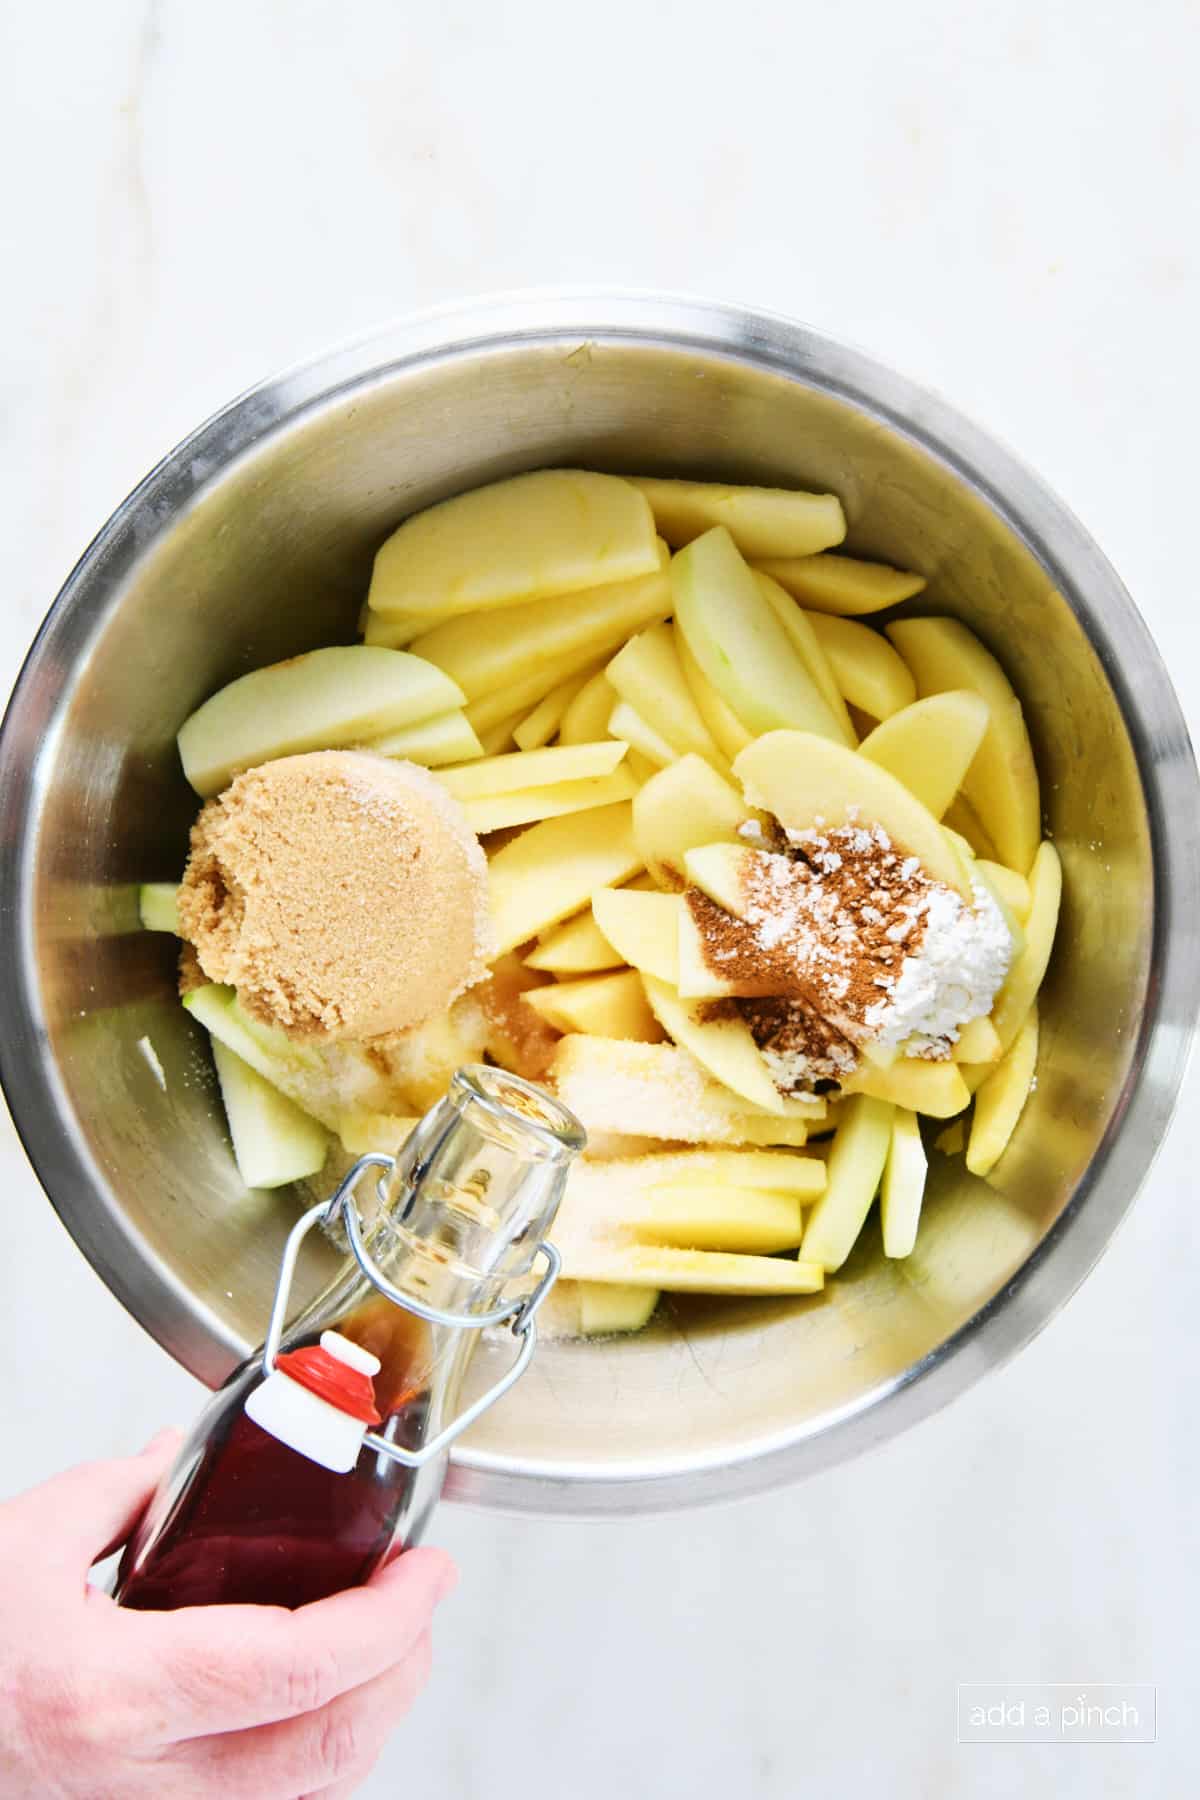
Pie crust. You’ll need two (9-inch) pie crusts. One for the bottom crust and one for the top of the pie. Apples. I use a combination of various types of apples in my pie. However, you can use all of one kind of apple if you prefer. Lemon juice. It helps to keep the apples from browning once peeled and sliced. Sugar. I use a combination of brown and granulated sugar. You can also use all of one type if you prefer. Seasonings. I use apple pie spice, but you can also use the same amount of ground cinnamon instead of the apple pie spice. You’ll also use a little salt and a splash of vanilla extract. Cornstarch. It helps to thicken the apple pie filling. Milk. It is brushed on top of the pie crust before baking. You can also substitute with an egg wash of 1 egg and 2 tablespoons of water whisked together and brushed on top.
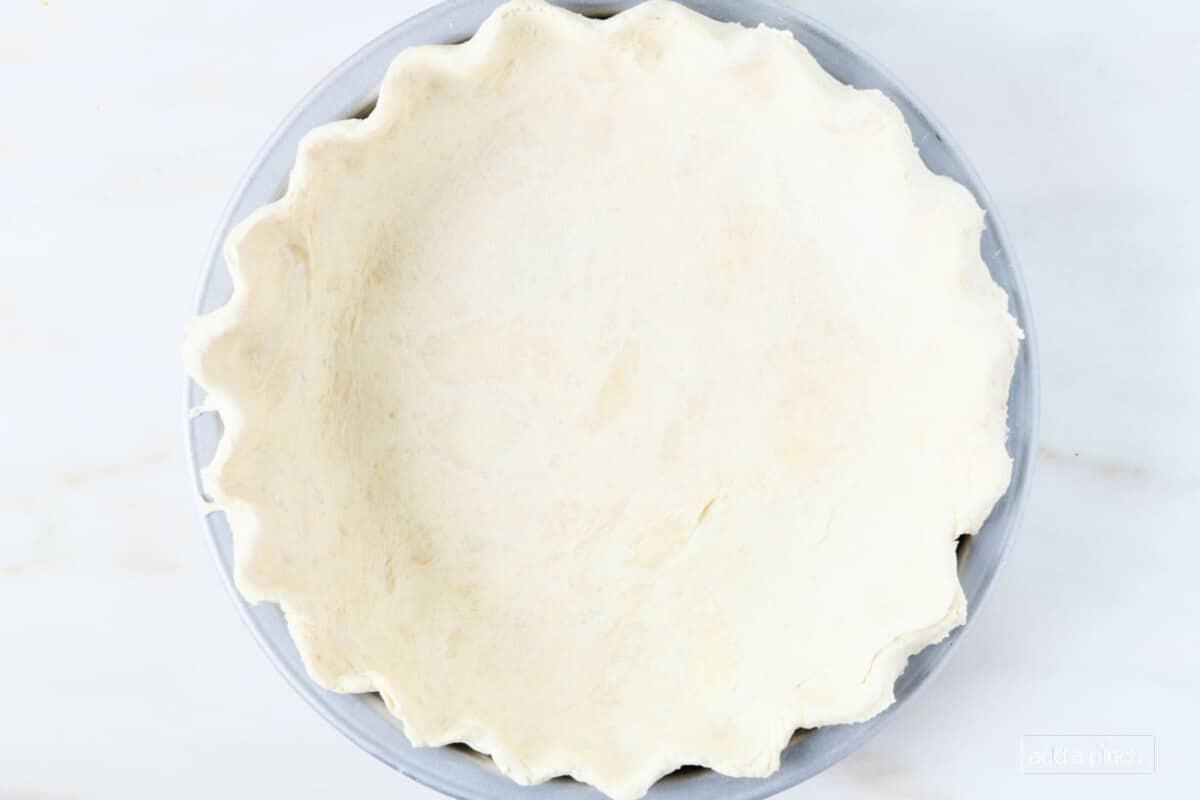
How to Make the Best Apple Pie Recipe
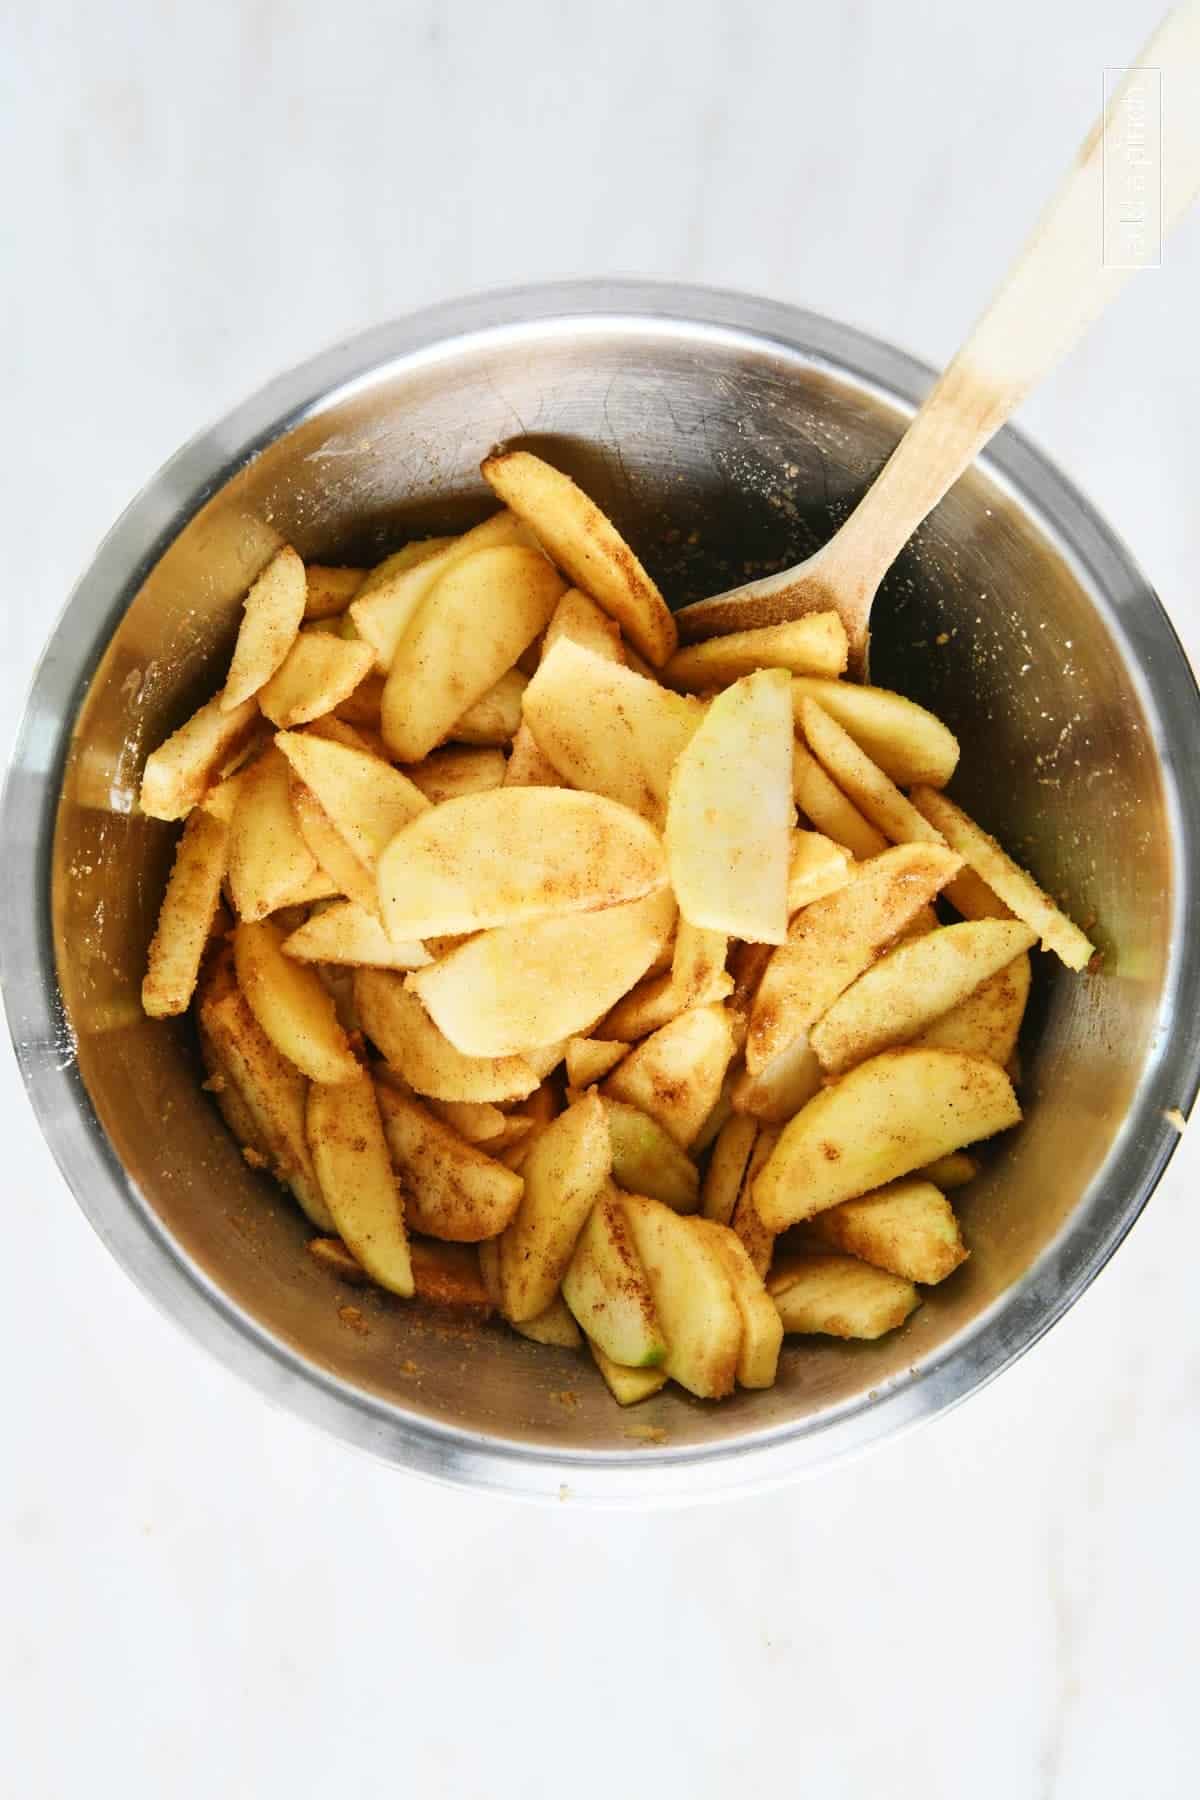
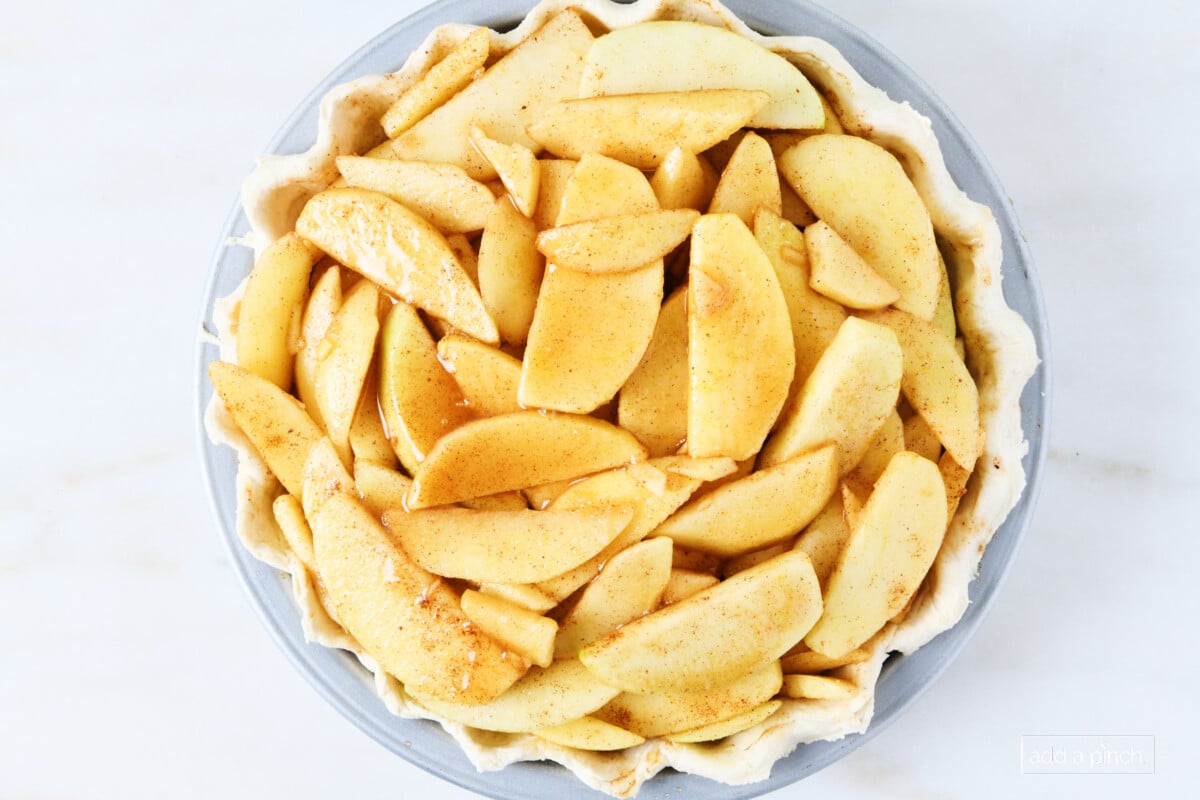
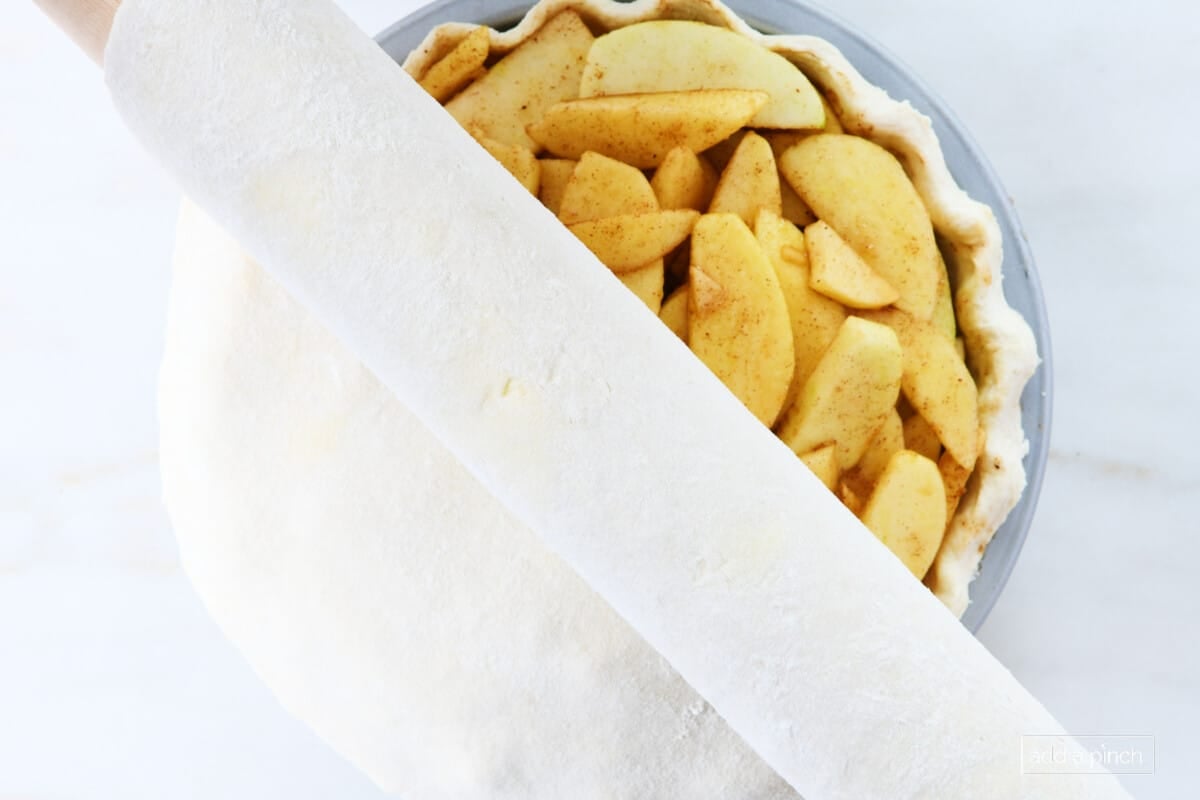
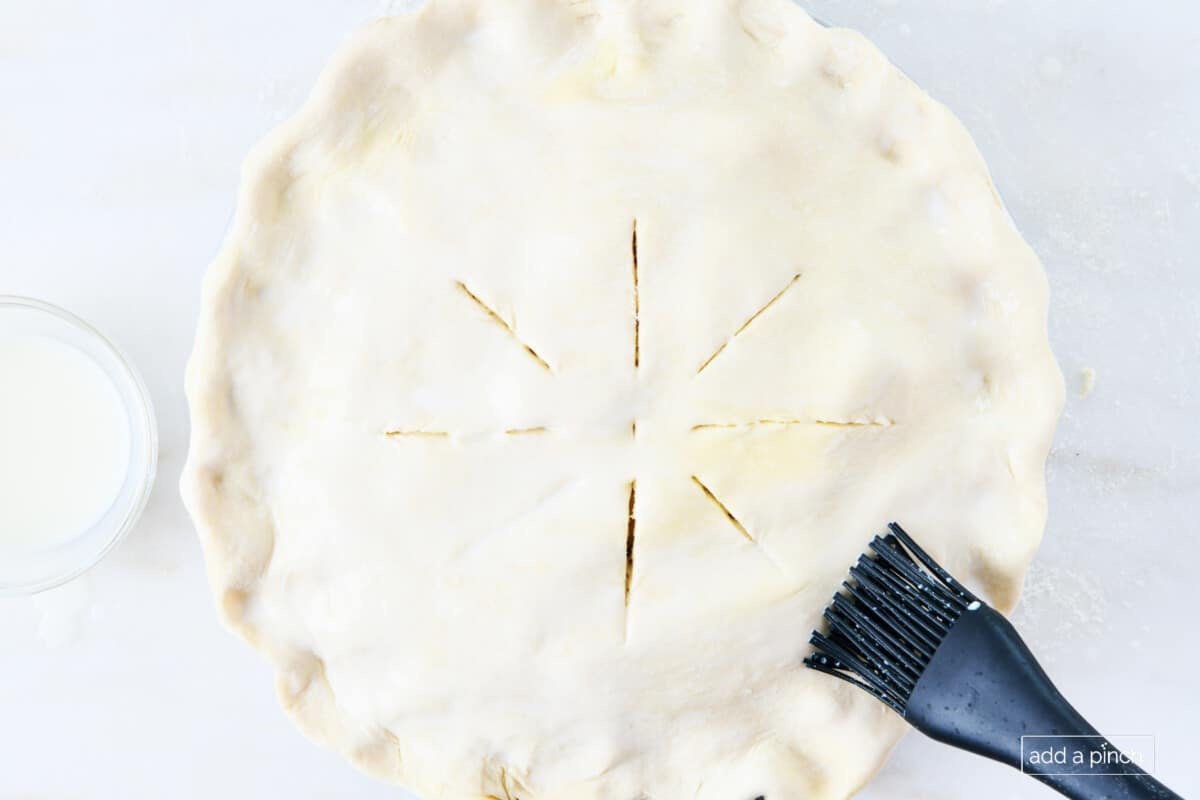
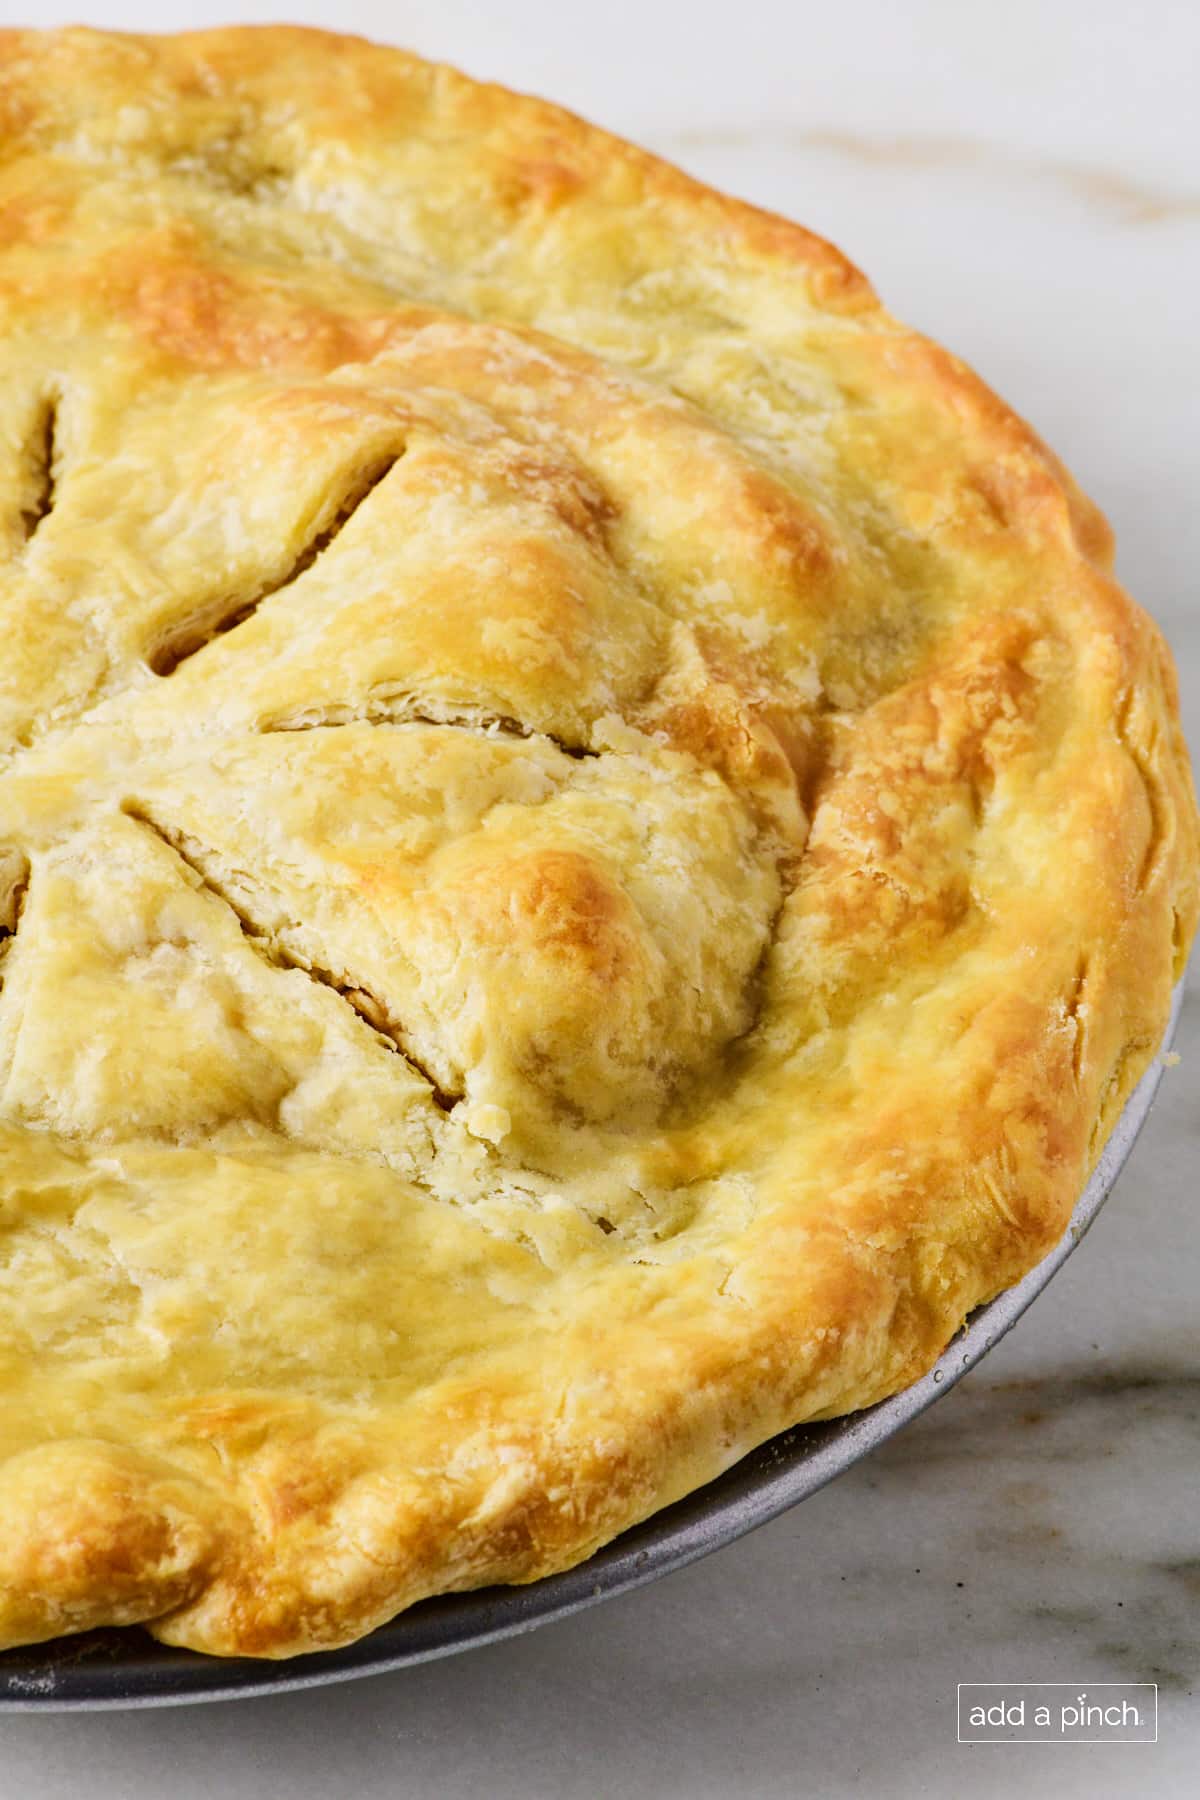
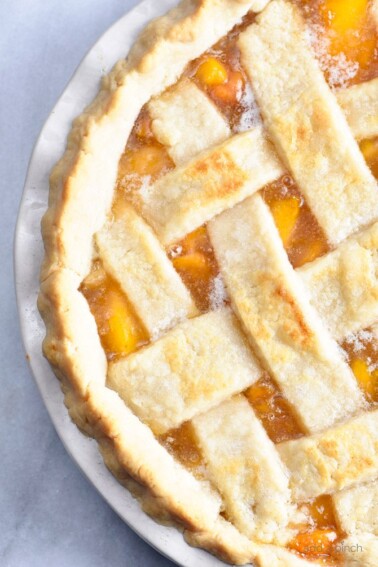
Prep. Preheat the oven to 350º F. Make the pie crust. Prepare two pie crusts. Place the bottom crust into the pie plate and freeze as the recipe directs. Roll the second pie crust and set aside while preparing the apple pie filling. (Optional) Make-Ahead Pie Crust: You can prepare the pie crusts in advance if you’d like. Place one in the pie plate, wrap well with foil, and freeze. Make the second pie crust, form it into a disc, wrap it well with plastic wrap, and store it in the refrigerator for up to 3 days. Remove the second crust from the refrigerator while you prepare the pie filling to make it easier to roll. Prepare the apple pie filling. Peel, core, and slice the apples into 1/4-inch slices. Add the apple slices to a large bowl. Toss with the lemon juice to prevent the apples from darkening. Add brown sugar, granulated sugar, apple pie spice, salt, vanilla extract, and cornstarch. Toss the apples with the sugar mixture to coat. (Optional) Cook the homemade apple pie filling: Pour the apple pie filling mixture into a Dutch oven or skillet set over medium heat. Cook the apples until the apples begin to soften, about 5 minutes. Remove from the heat. Assemble the pie. Remove the pie plate from the freezer and pour the apple pie filling into the bottom crust. Mound the pie filling slightly in the center and make sure not to get any on the edges of the pie dough as it will prevent the pie from sealing properly. Add the top crust. Roll the second pie crust on a lightly floured surface and place it on top of the apple pie filling. Using the pie plate as a guide, carefully run a sharp paring knife around the edge of the pie plate to trim away any excess pie dough. Crimp the edges of the top crust to the bottom crust. (Optional) Lattice-Topped Apple Pie: Alternately, you can cut the second pie dough into about 10 even-width strips using a pizza cutter. These strips will be arranged in a woven lattice pattern on top of the pie filling. Prep the top crust. Use the paring knife and cut vents in the top pie crust. Place onto a rimmed baking sheet to catch any drippings. Brush the top crust with milk and sprinkle with additional sugar if using. Bake the pie. Bake for 45-50 minutes, until the top crust has browned. Remove from the oven and allow the pie to cool for 1 to 3 hours before slicing. The juices of the pie will thicken as the pie cools. It will be too juicy if sliced while the pie is still warm.
Storage Tips
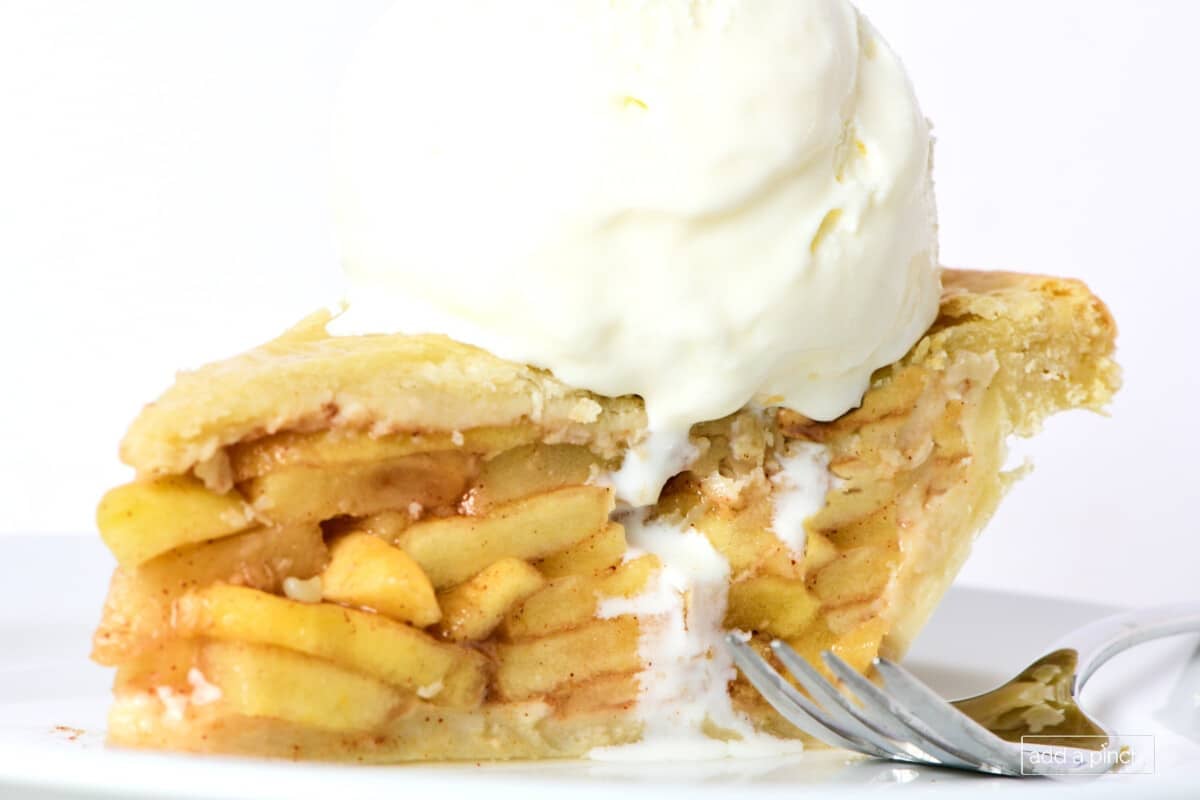
Store. Allow the pie to cool. Wrap tightly and store at room temperature for 1 to 2 days or in the refrigerator for up to 7 days. Make ahead apple pie. Prepare the pie as directed. After it has cooled, wrap it tightly and store it at room temperature for up to 2 days, in the refrigerator for up to 7 days, or see the freezer instructions below. Make ahead pie crusts. Make the two pie crusts and form into discs. Wrap them well in freezer-safe wrap. Store in the refrigerator for up to 5 days or in the freezer for 3 months. Freeze apple pie filling. Store the mixed apple pie filling in a freezer-safe container in the freezer for up to 3 months. Thaw in the refrigerator overnight before use. Freeze a baked apple pie. Prepare the pie as directed in a freezer-safe pie plate. After it has cooled completely, wrap it tightly with freezer-safe wrap and freeze it for up to 3 months. Thaw it overnight in the refrigerator and serve cold, or allow it to come to room temperature for serving. Freeze an unbaked apple pie. Assemble the pie as directed in a freezer-safe pie plate. Do not bake. Wrap it tightly with freezer-safe wrap and freeze it for up to 3 months. Thaw it overnight in the refrigerator and bake as directed. Here’s our Apple Pie Recipe. It is most certainly a keeper.
Grandmother’s Apple Pie
With dustings of flour flying all over my kitchen as a young bride, my spirits soared as I mastered my first apple pie as a newlywed. I felt pride in being able to serve it to my husband and my parents who were visiting for supper that evening as we finished our meal, even though I’d been on the phone with my Grandmother every step of the process with her talking me through all the way. Years later as I poured the apples into the pie plate and then gently placed the second crust of my homemade pie crust atop all of the apples, I felt the warm flow of tears on my cheek. It was the fall of the year my Grandmother passed away on Easter Sunday and the weightyness of her passing finally hit me. Now as I make apple pie, my heart isn’t as heavy as that year following her passing. I realize the gift she gave me was much more than her pie recipe, she selflessly gave me love, and most importantly, the understanding that life passes quickly, but the legacy you leave behind is the lifetime of simple moments you share with those you love. She truly made me feel like one of the most special people in her whole world and through her time and love, instilled in me the confidence and courage to try new things. I remember telling her during that pie making phone call how I was so nervous that it wouldn’t turn out like hers. “What if it isn’t right, Grandmother?,” I’d asked her. “Well, honey, it’s just pie. You can always try again tomorrow.” And my love of experimenting in the kitchen was born. Enjoy!Robyn xo From the Add a Pinch recipe archives, originally published 2013. This post has been updated to include step-by-step photographs.