on Mar 29, 2014, Updated Nov 30, 2023 10 Comments The perfect crust for my Key Lime Pie, KK’s Chocolate Chip Cookie Pie, and No-Bake Lemon Cream Pie is one that I turn to time and again! It never fails me! You’ll never need to buy store-bought crust again after you make this perfect graham cracker crust. It is one of the first pie crust recipes that I made on my own. I was in the seventh grade and was determined to make a pie for my Daddy. After watching Mama make what seemed like a million pies in my lifetime at that point, I knew exactly what to do. It didn’t hurt that I’d written out the recipe in a notebook while I watched her make it.
How to Make a Perfect Graham Cracker Crust
Graham cracker crust is so quick and easy to make. With only three ingredients, it comes together for the perfect no-fail recipe every time!
Ingredients
Be sure to see the recipe card below for the full listing of ingredients, instructions, notes, and estimated nutritional information.
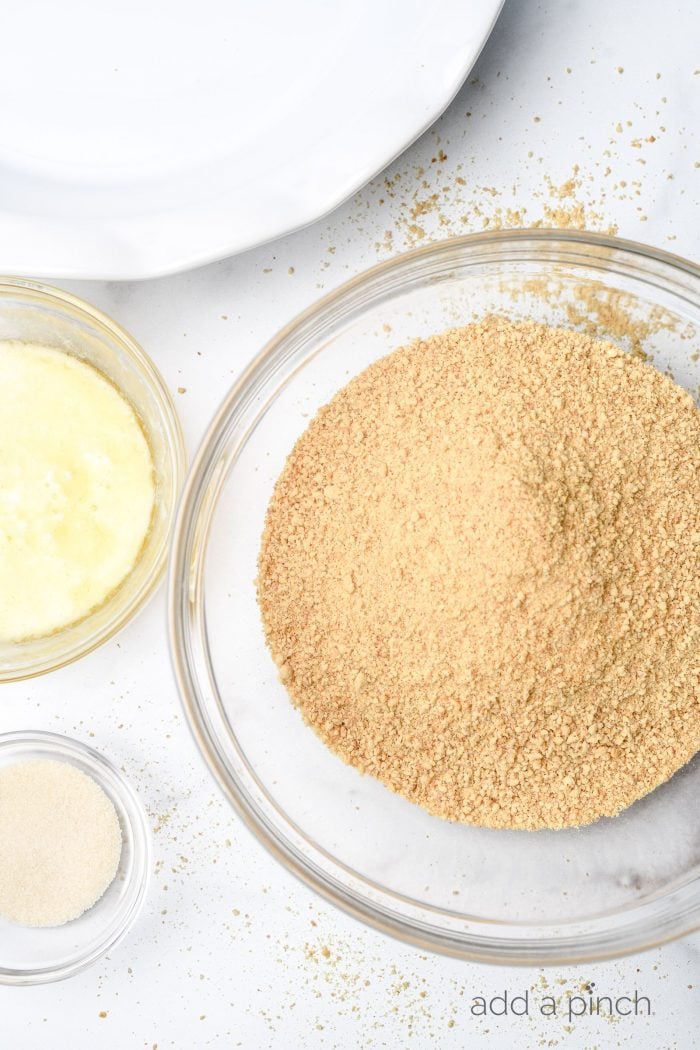
Graham cracker crumbs – you’ll need 2 cups of graham cracker crumbs for this recipe. If making your own crumbs, this will be 14 and 1/2 sheets of graham crackers. Sugar – use granulated sugar or brown sugar or even a half and half of each, if you prefer. Butter – melted helps to hold the crust together. I recommend using salted butter, but you can use unsalted butter if you prefer.
Step-by-Step Instructions
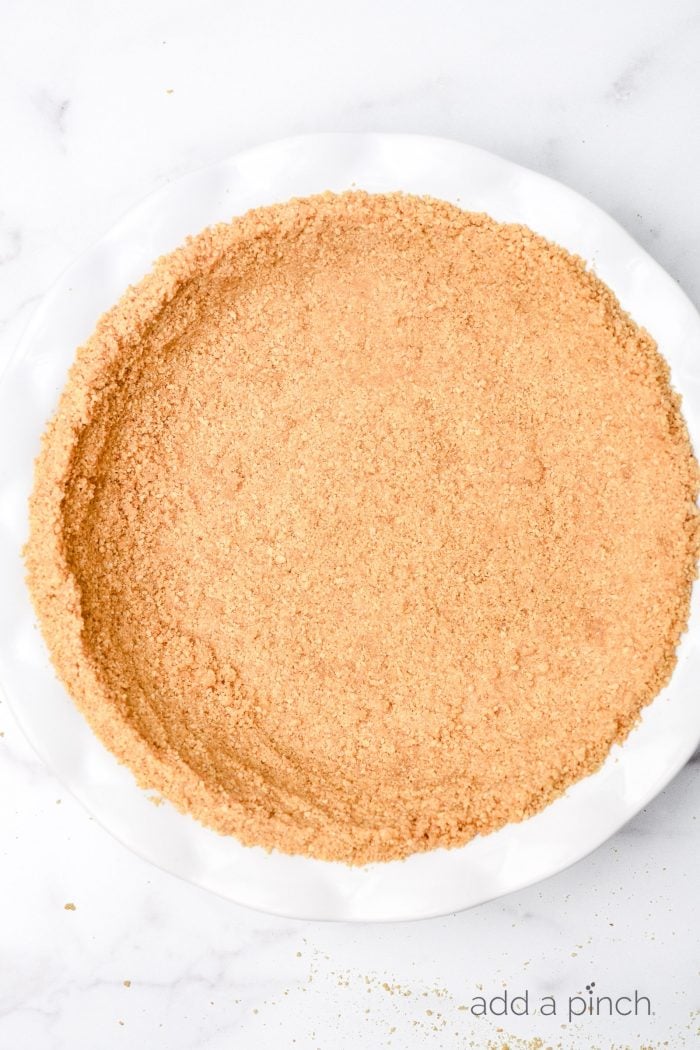
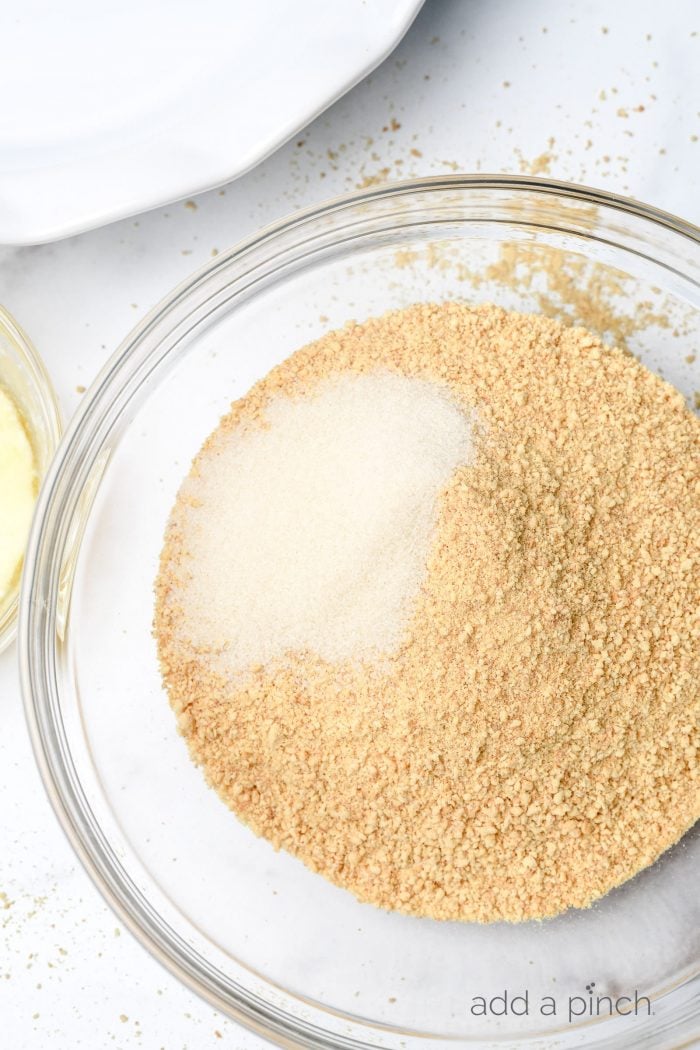
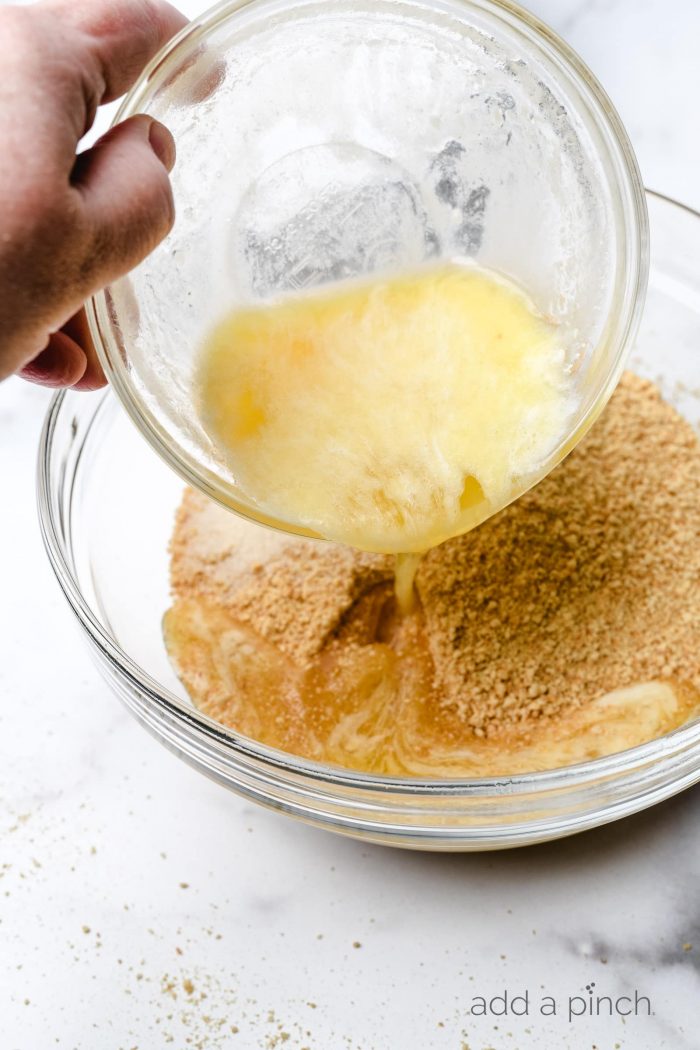
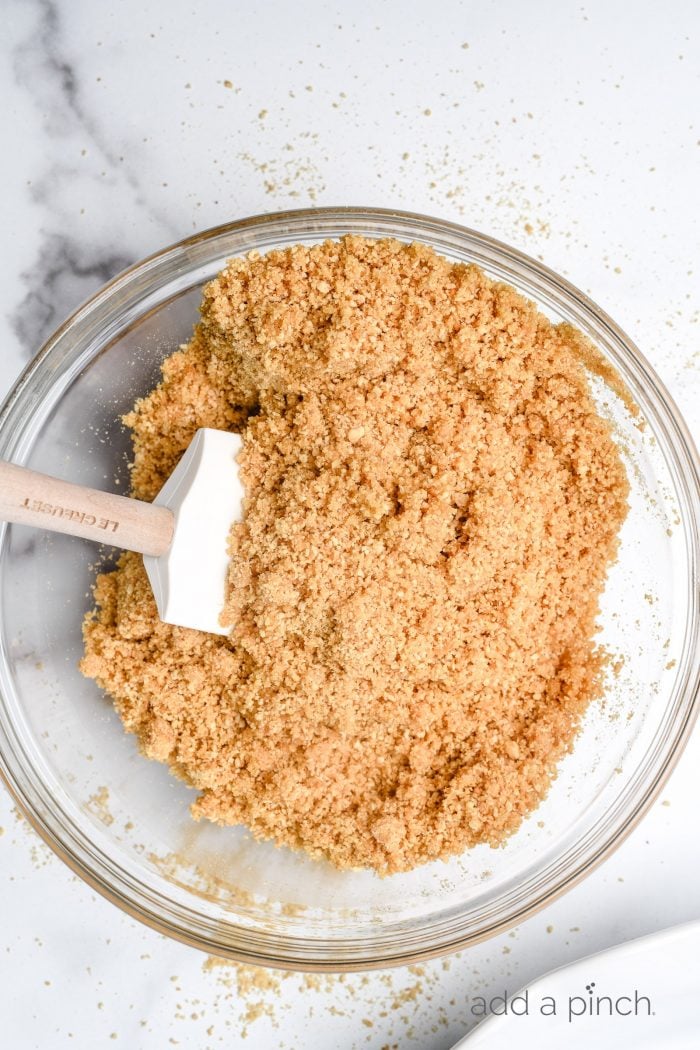
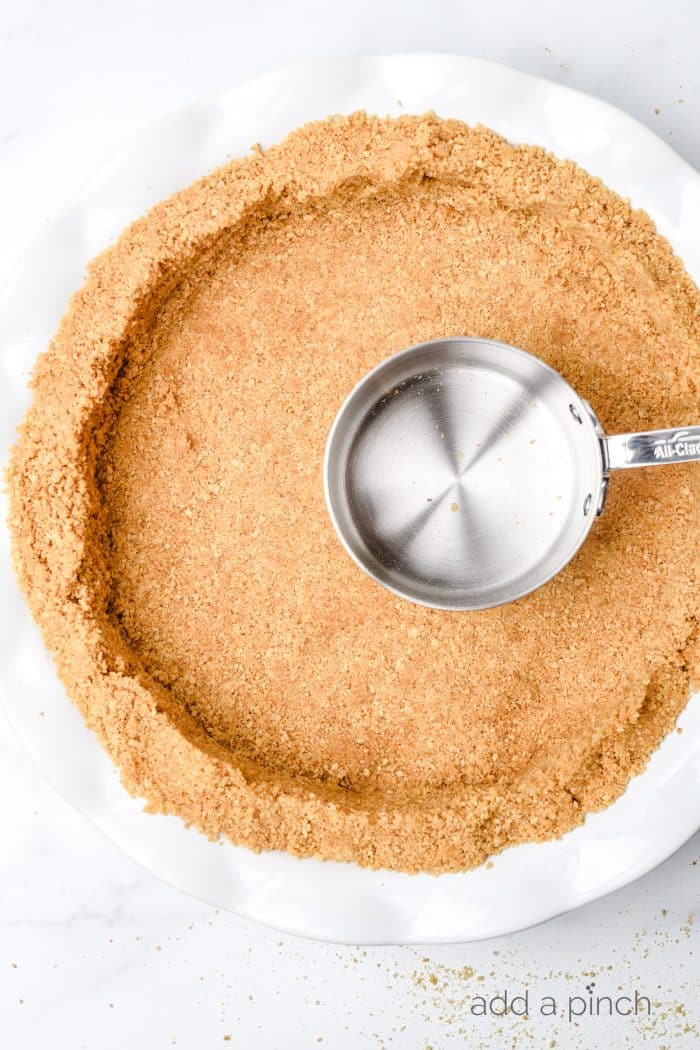
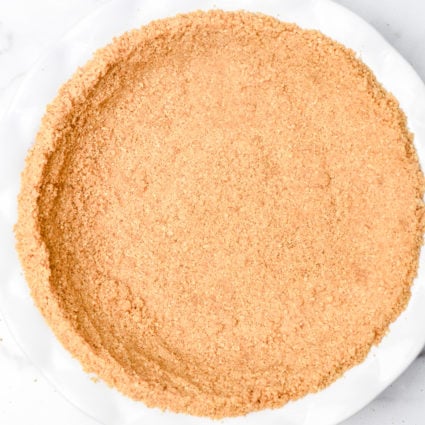
It is so easy to make and one of the most versatile crusts! I’ve included step-by-step photographs to help as you make it! Add your crumbs and sugar to a medium bowl and stir to combine well. Pour in your melted butter. And stir to combine well. Pour the crust mixture into your pie plate and firmly press with a dry measuring cup into the bottom and up the sides of the pie plate. Use the homemade graham cracker crust as directed for your recipe! If the recipe you are using is for a no-bake recipe, I recommend chilling your graham cracker crust in the freezer or refrigerator prior to filling.
No Bake Graham Cracker Crust
Once you have your crust pressed into your pie plate, place in the refrigerator or freezer for at least one hour to chill completely. As the butter hardens, it will hold the crust together. This crust is perfect to use for no-bake desserts and at times when you prefer not to use an oven or one isn’t available to you. The crust will be crumbly as you cut slices.
Baked Graham Cracker Crust
I prefer to bake my crust for a few minutes for a firmer crust that holds together well as you cut slices and serve. Once your crust has been pressed into your pie plate, bake until the crust is lightly golden brown and fragrant, about 6-8 minutes at 375º F. Then, remove from the oven and allow to cool completely before adding a no-bake type pie filling.
Storage Tips
For a no-bake crust, wrap well with plastic wrap and keep your crust stored in the refrigerator for up to a week or in the freezer for up to 3 months. For a baked crust, wrap tightly with plastic wrap and store in a cool, dry place for up to a week or in the freezer for up to 3 months. Note: When freezing, I like to slide my pie plate into a very large zip-top freezer bag as well.
Some of My Favorite Desserts Using Graham Cracker Crust Include
Key Lime Pie KK’s Chocolate Chip Cookie Pie Frozen Cherry Pineapple Dessert Here’s my Graham Cracker Crust recipe. I hope you enjoy it as much as we do! Enjoy!Robyn xo