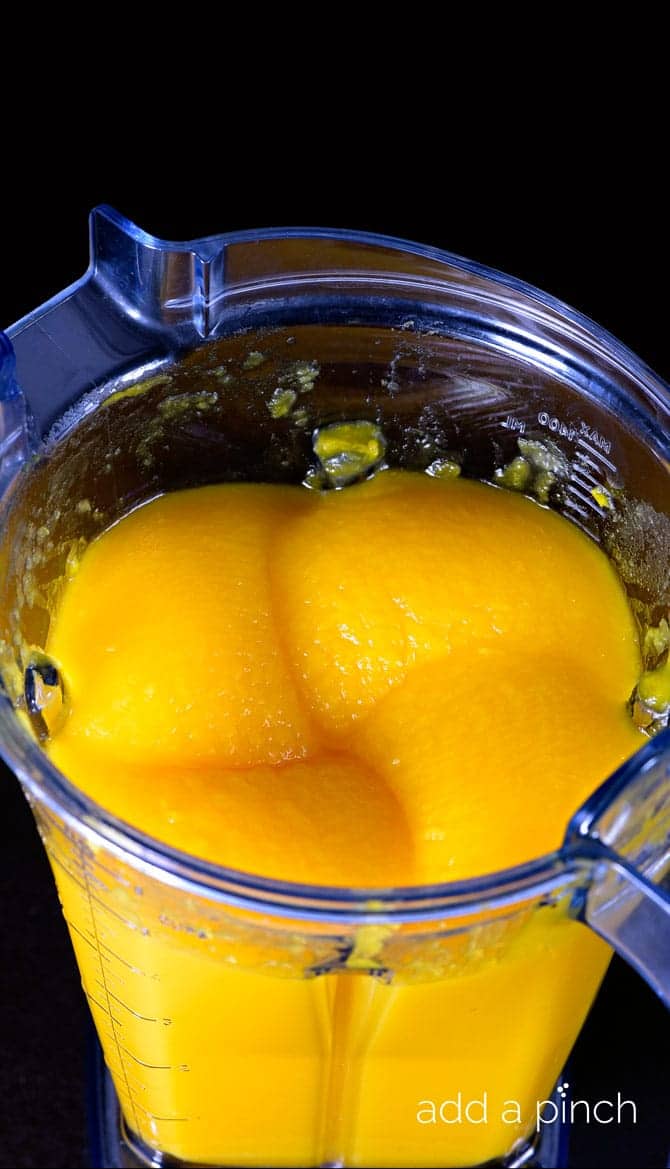
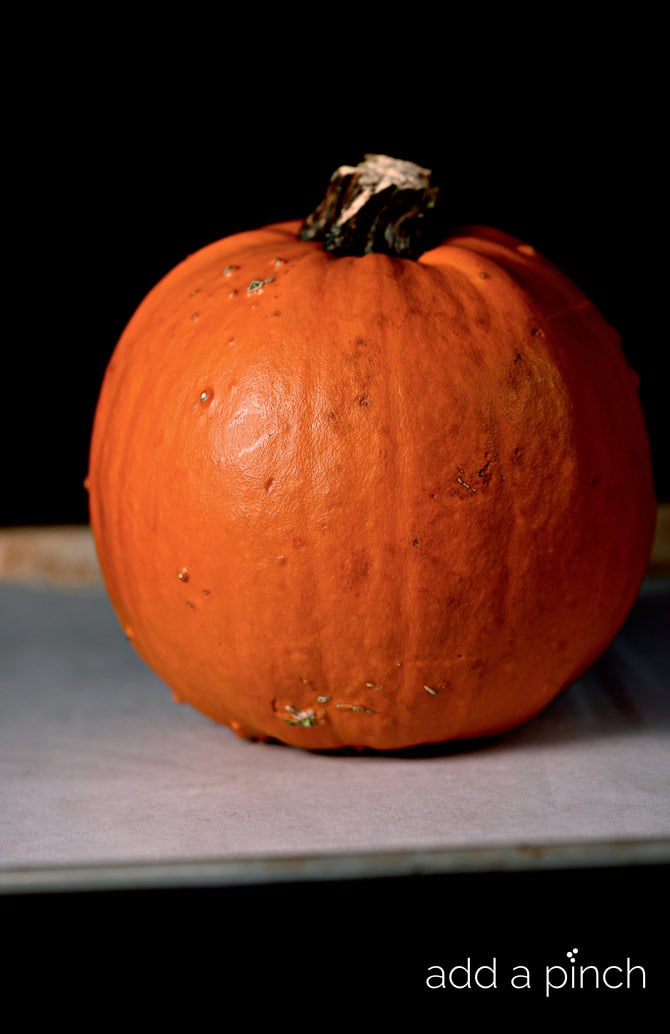
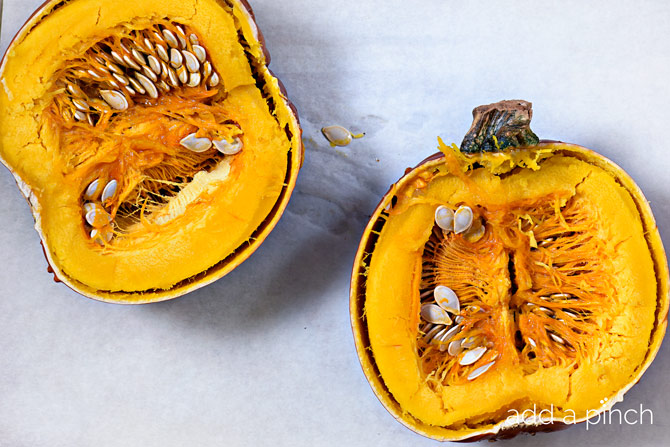
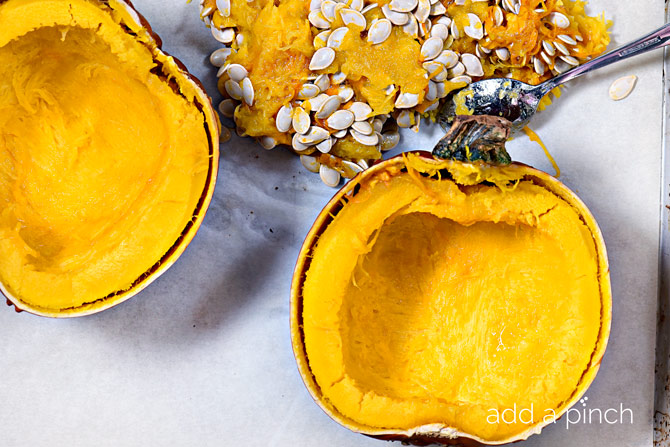
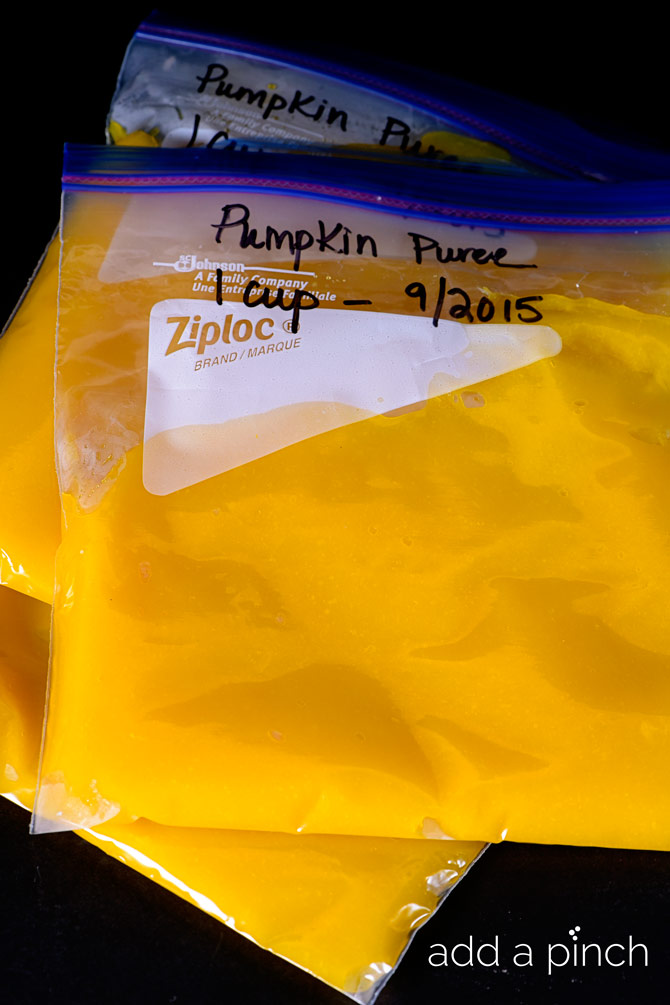
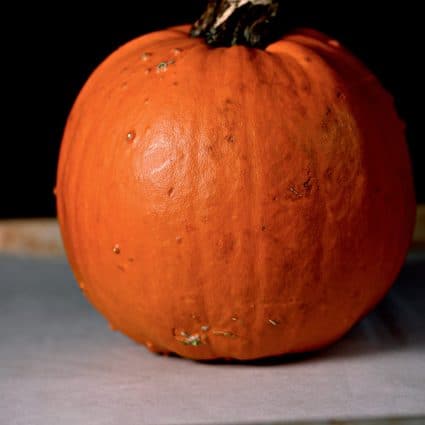
on Sep 11, 2017, Updated May 19, 2023 32 Comments This time of year, apple and pumpkin recipes abound at my house. It’s like we wait all year and then can’t get enough of them as soon as the leaves even hint of turning to their beautiful fall colors. To make all those pumpkin recipes, I start with my homemade pumpkin puree. For years, I felt like I was taking my life in my own hands by pulling out the cleaver to cut my pumpkin in half for roasting to them make my pumpkin puree. I knew there had to be a better way! I tried using my slow cooker method that I use for cooking my butternut squash, but found that more often than not, the pumpkin just doesn’t fit perfectly in the slow cooker. That’s when I decided to try to bake the whole pumpkin without cutting to make homemade pumpkin puree. Guess what? It works like a charm! No more cutting, slicing, or mess! I think the angels started singing! For baking the pumpkin, I always begin with a 4 to 6 pound baking pumpkin that I’ve washed and dried. If you have space, it is just as easy to bake two or three pumpkins as it is one for making your pumpkin puree and you can easily store it in the freezer for using throughout the year! I preheat my oven to 350º F and line a rimmed baking sheet with parchment paper to catch any dribbles that may occur. Then, my whole pumpkin goes into the oven and bakes for an hour. After an hour, I test it by carefully piercing the side skin of the pumpkin with a small paring knife. If the knife goes into the skin easily, I know it is done. If not, I continue to cook in 15 minute increments until it does. Once it has cooked, I remove the pan from my oven and let it set for an hour. It will still be warm after an hour, but I found that cutting into it any earlier than that releases so much steam that it was too hot to handle. The resting time also allows the pumpkin to continue to have carryover cooking with all that steam inside the pumpkin. It makes that pumpkin puree just so smooth and glorious. After an hour, I use a chef’s knife and cut the pumpkin in half from stem to bottom. Don’t try cutting the stem portion in half as it is still too tough. Just cut to the side of it and then through the baked pumpkin. Now is time to clean out the seeds and pulpy membrane from the pumpkin. Use a spoon and just scoop those out and onto the parchment paper as I did in the photo above or into a bowl. Don’t discard these! You’ll want to use the seeds for roasting later and the pulpy bits are treats for chickens and great for the compost bin! You’ll then scoop the pumpkin out of the shell and put into a blender or food processor for making your puree as smooth as possible. I will say that I’ve made it using a potato masher before and while it wasn’t the smoothest puree, it was mighty easy! Once you’ve added to your blender or food processor, just pulse until your pumpkin puree is the consistency you want. You may need to remove the lid and scrape the sides a time or two to make sure that all of the pumpkin is smooth. Everytime I make my pumpkin puree, I have to smile at the memory of making Sam’s baby food this same way – from butternut squash, sweet potatoes, peas, carrots, and yes, even pumpkin, every weekend I was busy roasting vegetables and fruits to puree for his food for the week. I’d watched the Diane Keaton movie Baby Boom before Sam was born and knew I wanted to try my hand at making his baby food myself like my Grandmother and mother had done, too! Gosh, I miss those days! Once I’ve made my pumpkin puree, I prep it for storing in the freezer. I portion the pumpkin puree into freezer safe zip top bags. I like to have some as 1/2 cup portions and some as 1 cup. That way, I can just grab a bag based on what the recipe calls for. When Sam was a baby, I would use a ice tray, place it into the freezer to freeze overnight and then pop the little cubes of frozen fruits and veggies into zip top freezer bags to use later. Enjoy! Robyn xo
