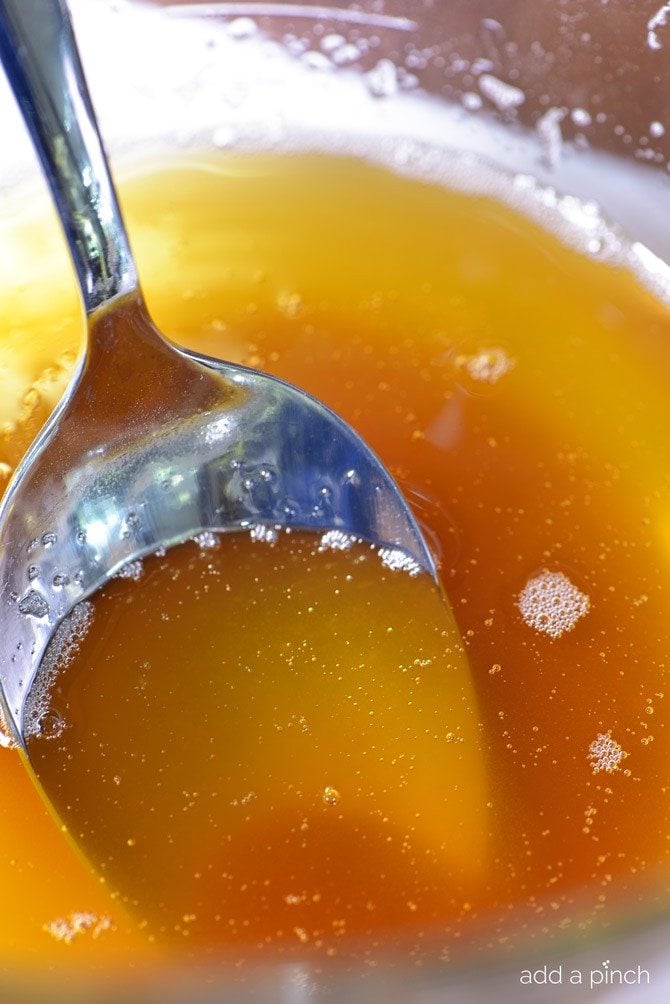
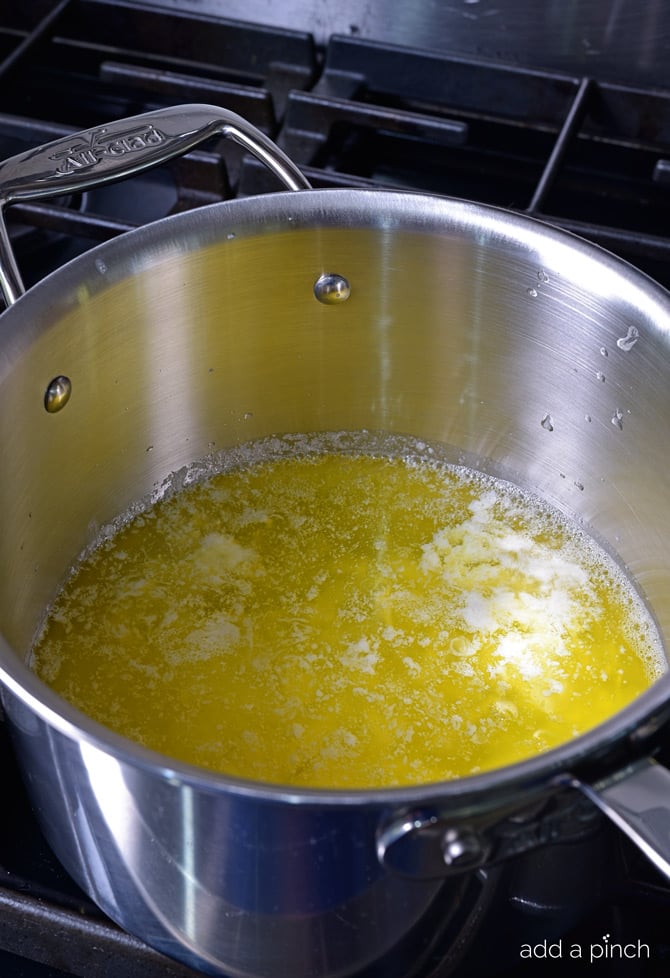
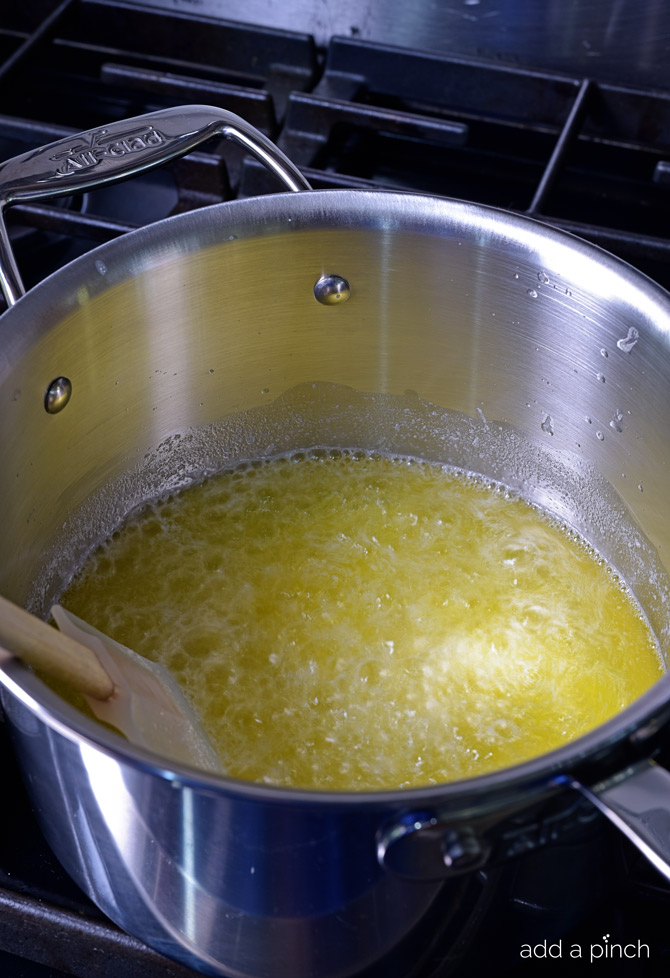
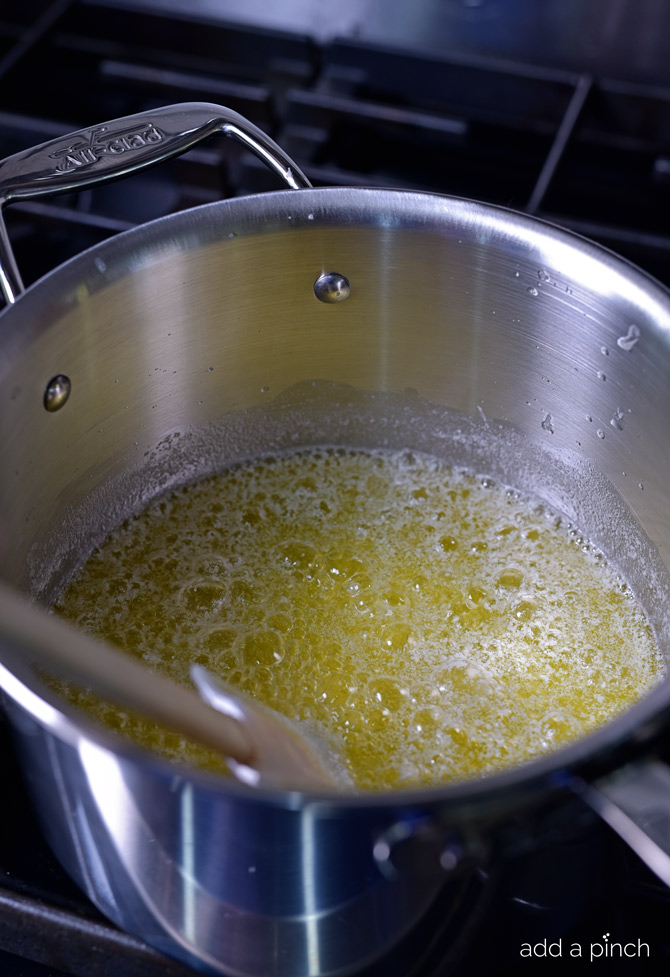
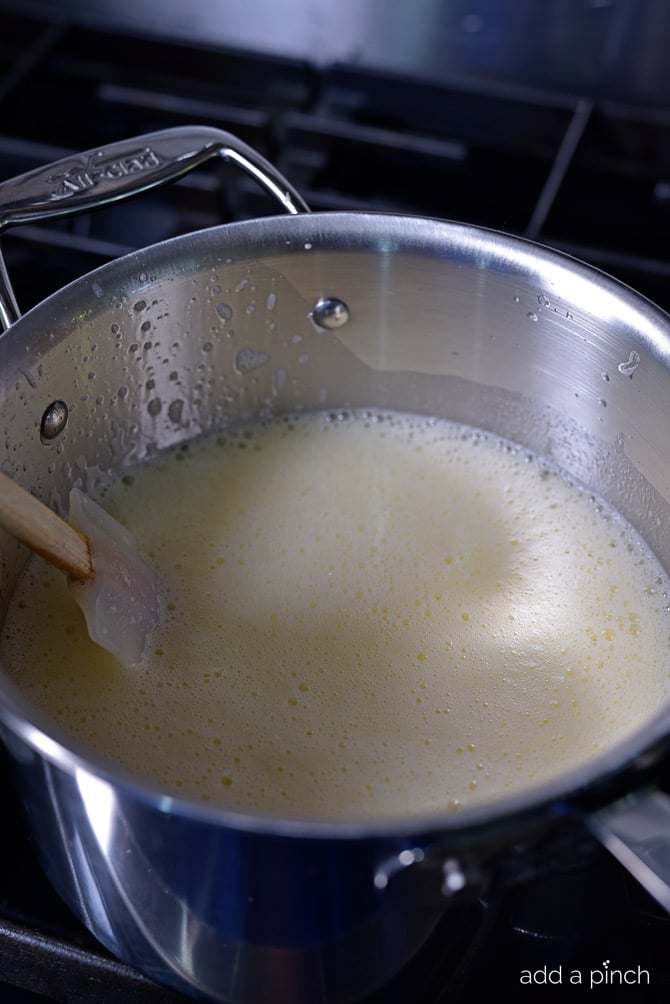
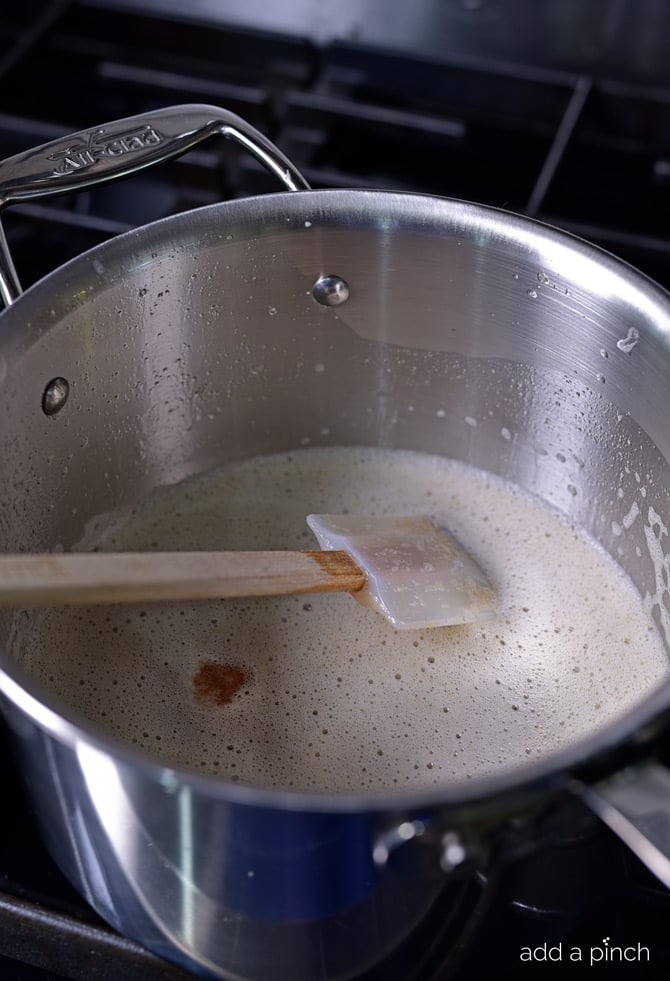
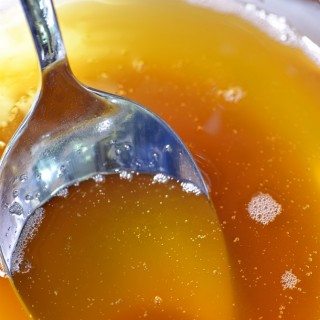
on Jul 06, 2015, Updated Nov 16, 2023 13 Comments Brown butter adds so much flavor in cooking and baking! I love to use it in recipes where butter is called for to add an additional layer of flavor to pasta, vegetables, cookies, and cakes. The transformation of the butter as it reaches the perfect, nutty, golden brown is amazing and makes an already delicious dish absolutely irresistible! I use unsalted butter for making my brown butter and generally begin with about 25% more than what I need for a final recipe as the volume of the butter will be different once the butter is browned. Making browned butter all starts by adding unsalted butter to a lightly colored, heavy bottomed pan over medium-low heat. While you could use a heavy skillet or other cooking vessel, you want to make sure that the bottom of the pan is light enough that you can monitor the color transformation of the butter as it cooks. You’ll also begin with 25% more butter than your recipe requires since the volume of the butter will be less once made into brown butter. Even though it is a cinch to make, I like to make a bit extra since browned butter keeps well in the refrigerator. That way, I have it on hand to quickly add a depth of flavor to dishes that I make throughout the week. As the butter melts, it will bubble and foam as the water in the butter begins to cook off. Let it continue cooking undisturbed until it begins to bubble slightly around the edges. And then, stir occasionally and watch carefully so that it doesn’t burn. You’ll notice as it cooks that the butter turns from a bright lemony yellow to a more golden color to finally a nutty brown. As the butter cooks, the formation of foam on the top may make it difficult to tell the changing color of your brown butter. Make sure you continue to stir the butter so that the milk solids that have formed as sediment at the bottom of your pan do not scorch leaving a burnt taste to your browned butter. Once your brown butter has turned a nutty brown, remove it from the heat and transfer it to a heat-proof bowl to cool. Many do not like the flavor from the milk solids that have cooked to a much browner color and have a much stronger flavor. To remove them from the brown butter, simply strain the brown butter through a fine mesh strainer topped with a cheese cloth to a heat-proof bowl for cooling. If you enjoy the flavors from the browned bits, simply transfer your brown butter to a heat-safe bowl for cooling. Brown butter lasts for a few weeks in the refrigerator or may be frozen in ice cube trays and then transferred into a zip top bag for up to a few months. Here’s the recipe for how to brown butter. I hope you enjoy it as much as we do! Enjoy!Robyn xo