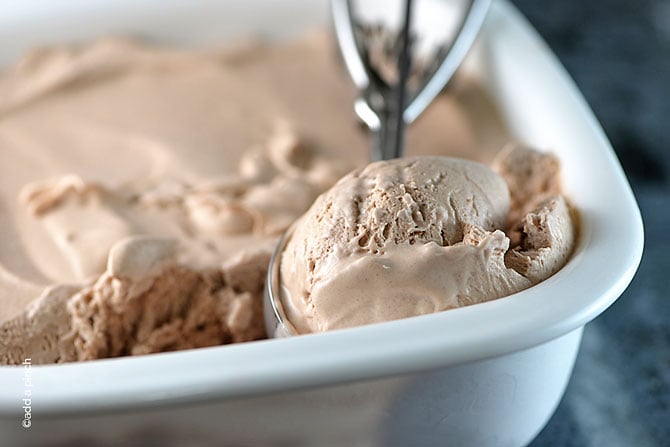
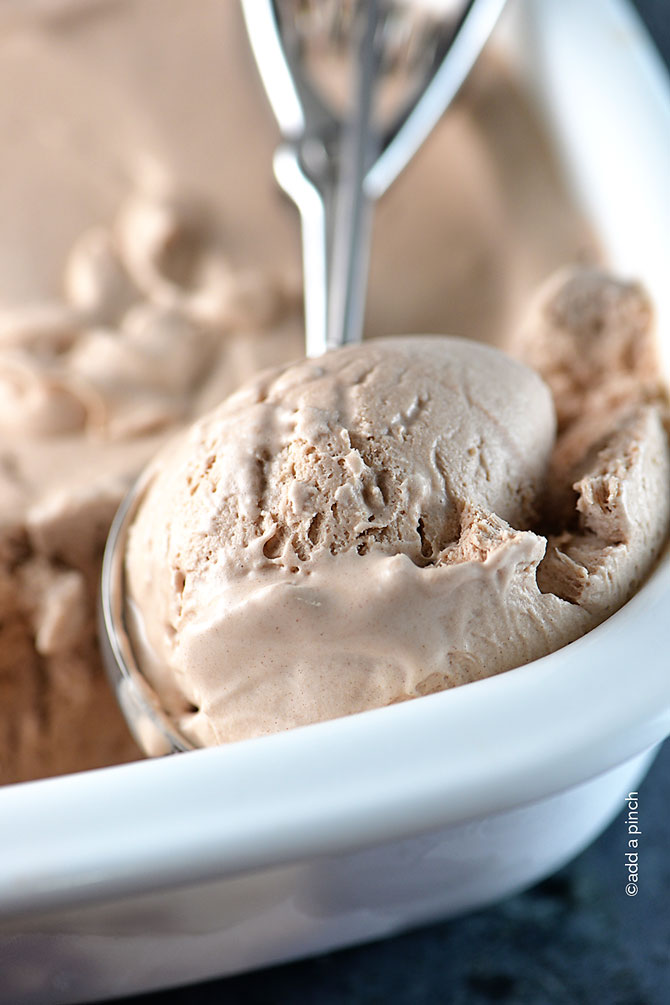
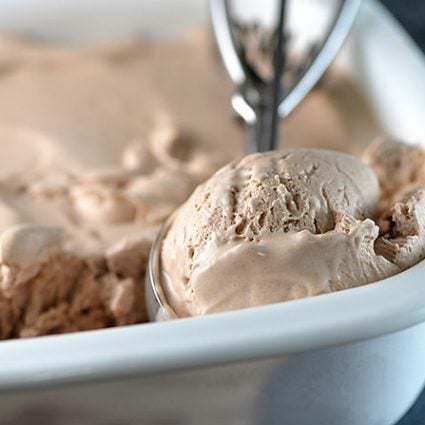
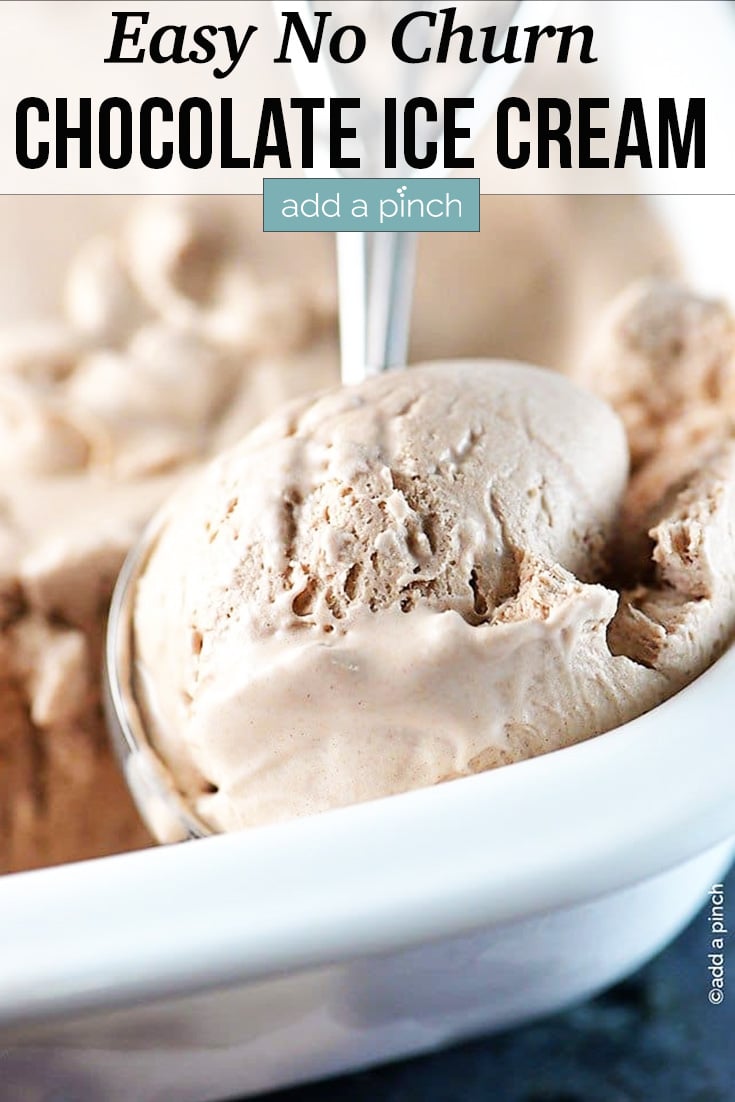
on Jun 16, 2014, Updated Jun 17, 2023 29 Comments I love everything about ice cream! And while I enjoy using my ice cream maker, there is something I love so much about making no-churn ice cream! It’s simple to make, so I can whip up a favorite ice cream flavor anytime! And this no-churn chocolate ice cream is one I certainly make often – and think you’ll enjoy it too! For this creamy, delicious chocolate ice cream, I tested and experimented until I got it just right. It has the perfect amount of chocolate and is so good! And my son says it tastes so much like a certain fast-food restaurant’s creamy chocolate ice cream/milkshake. I wasn’t trying for that taste, but it surely does remind me of it now that he mentioned it! Chocolate lovers always enjoy it, and I get requests for it often. It’s the perfect partner to my simple yet scrumptious no-churn vanilla ice cream recipe too! This chocolate ice cream recipe really has everything going for it! See why I love this recipe so much?
How to Make No-Churn Chocolate Ice Cream
Here’s what you’ll need to make this ice cream:
Ingredients
Be sure to see the recipe card below for the full listing of ingredients, instructions, notes, and estimated nutritional information.
heavy whipping cream – Make certain to get this and not a light version or half-and-half. You need the milk fat content in this cream for it to whip properly for the best ice cream results. sweetened condensed milk – I like to make my own and keep it in the fridge when I know I’ll be using it for recipes. If you choose to buy it in-store, make sure you get the correct item. It is not the same as evaporated milk or other canned milk and can’t be skipped or substituted. chocolate syrup
Step-by-Step Instructions
It only takes about five minutes to whip up this ice cream recipe before placing it in the freezer. Whip the cream. Place heavy cream in a large bowl (preferably a chilled bowl) and whip with an electric mixer or a stand mixer until stiff peaks form (about 3 minutes). Fold in other ingredients. Add the sweetened condensed milk and chocolate syrup to the whipped cream by gently folding it into it until it’s well combined. Be gentle to preserve the whipped cream. Freeze. Place the mixture in a freezer-safe container, like a freezer-safe ice cream container, with a lid or cover well with wrap and freeze until the ice cream mixture is firm (around 6 hours to overnight). It will last in an airtight container in the freezer for up to 2 months.
Optional Ice Cream Toppings and Mix-Ins
If you love to personalize your ice cream, here are some delicious options. Again, carefully combine any mix-ins so you don’t deflate the whipped cream. Here are some ideas: Caramel Sauce – Make sure it has cooled to room temperature so it won’t completely melt your ice cream when you spoon a drizzle of it on top! Fudge Ganache – Another tasty topping you’ll want to let cool before adding a swirl to your ice cream serving. Espresso – Give your chocolate ice cream an enhanced bit of a mocha/coffee flavor with a tablespoon of espresso powder mixed in. Crushed cookies – crumble some cookies for a tasty topping or mix-in. Nuts – peanuts, roasted pecans, and slivered almonds can be folded into the ice cream before freezing or added on top when serving Whipped Cream – Right before you get ready to serve, make some more whipped cream for an ice cream parlor-style topping. Here’s my No Churn Chocolate Ice Cream recipe. You are going to love it! Enjoy!Robyn xo