on Oct 12, 2012, Updated Sep 19, 2023 14 Comments Roast chicken is one of the easiest meals to prepare with just a few simple steps. Growing up, my Mom had roast chicken with roasted vegetables and mashed potatoes as part of her weekly meal plan and my Grandmother always served roasted chicken in addition to her turkey at Thanksgiving and Christmas. This simple weekly meal is easy, delicious, and a tradition that I wanted to continue with my own family. I also love to make it to use for salads, soups, and even to serve as an addition main dish like my Grandmother taught me.
Why You’ll Love This Recipe
Easy. It is made with just three simple ingredients. No change in oven temp required. Versatile. It works as a weeknight staple while being elegant enough for the holidays. Delicious. The simple ingredients make for a juicy, crispy, delicious chicken.
How to Roast Chicken Recipe
Ingredients
Be sure to see the recipe card below for the full listing of ingredients, instructions, notes, and estimated nutritional information. When you need an easy whole roast chicken recipe, this is the one I turn to time and again. Use it as is or as a jumping off point to add your favorite aromatics and other ingredients from time to time.
Chicken – Use a 3 to 4-pound whole chicken. If you use smaller or larger, adjust the cooking time appropriately. Olive oil – Use a good quality olive oil rubbed all over the exterior of your chicken. Seasoning – I use my favorite house seasoning, Stone House Seasoning, on my chicken. It is a simple blend of salt, pepper, and garlic that is my go-to seasoning. You can also substitute it with your favorite dried seasoning blend.
Step-by-Step Instructions
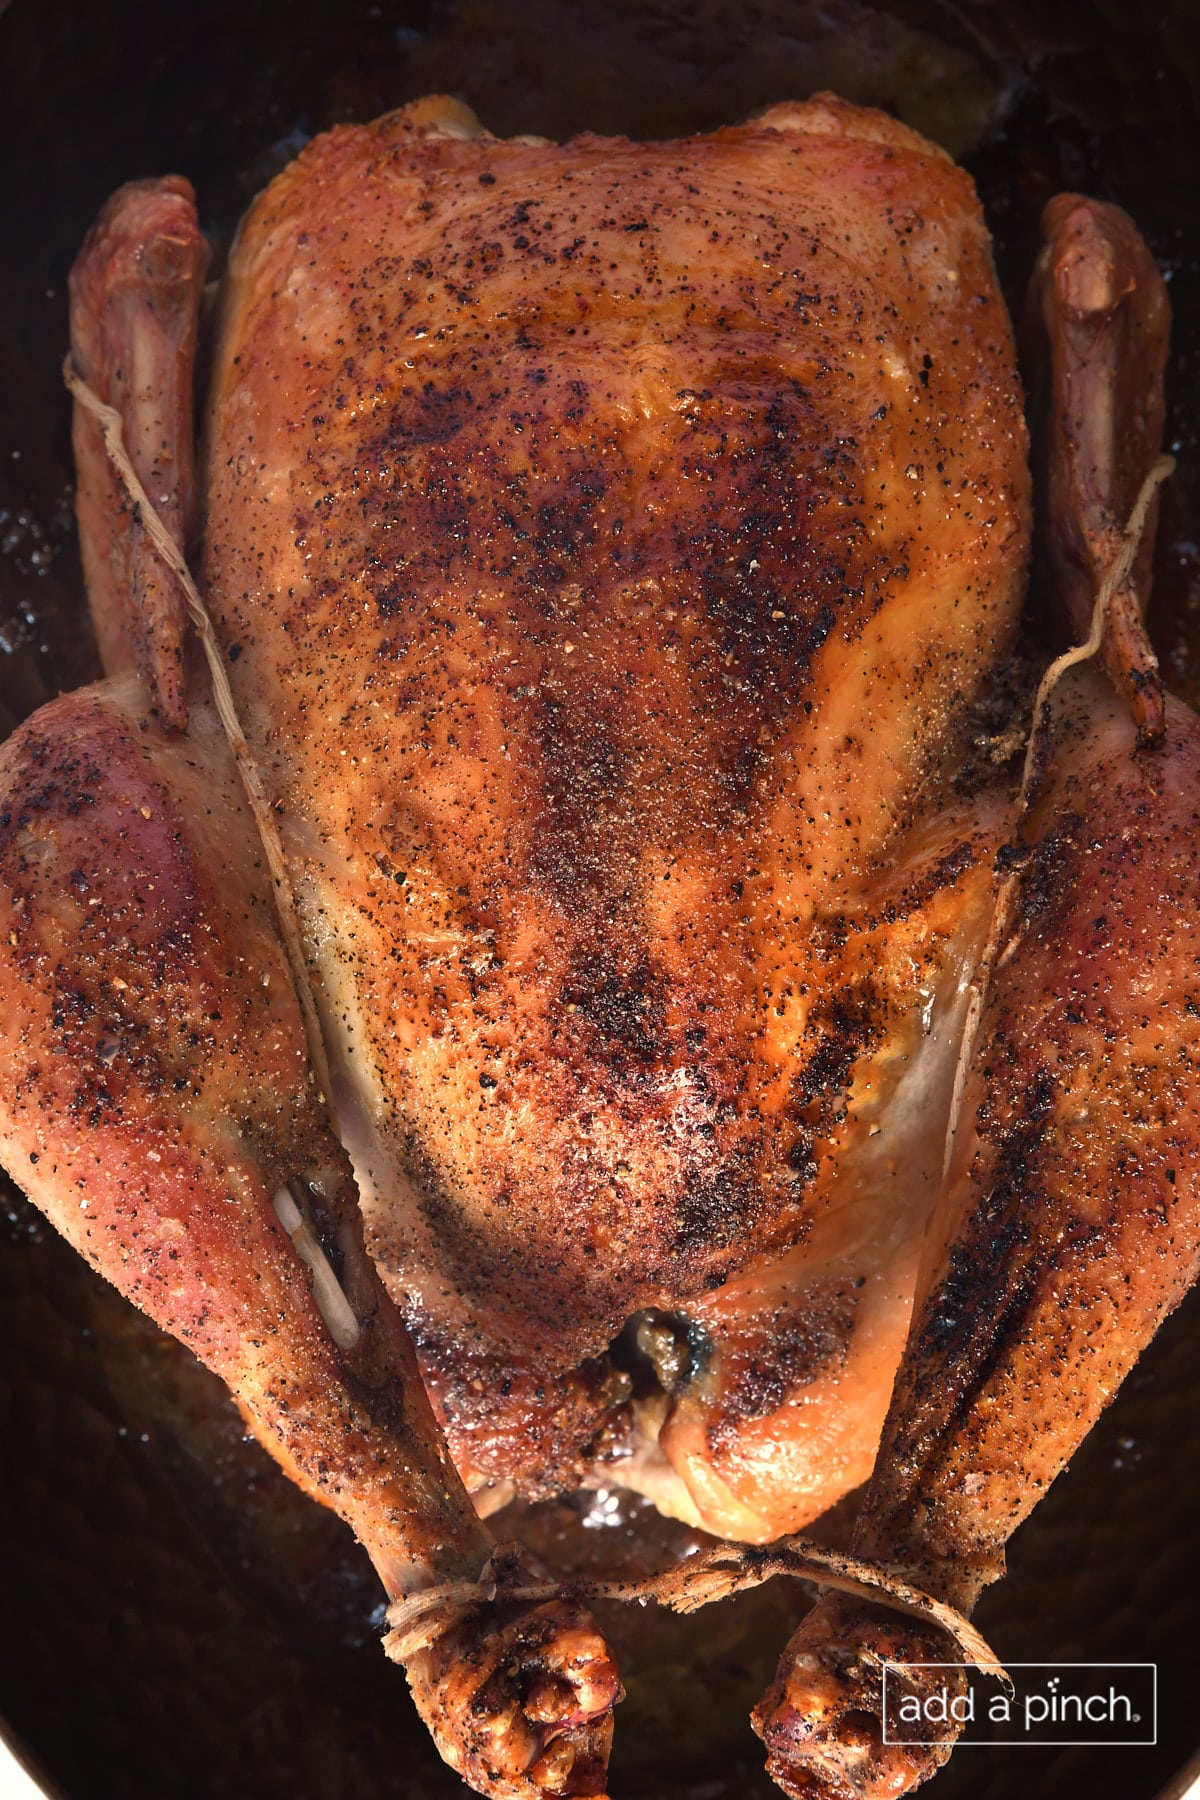
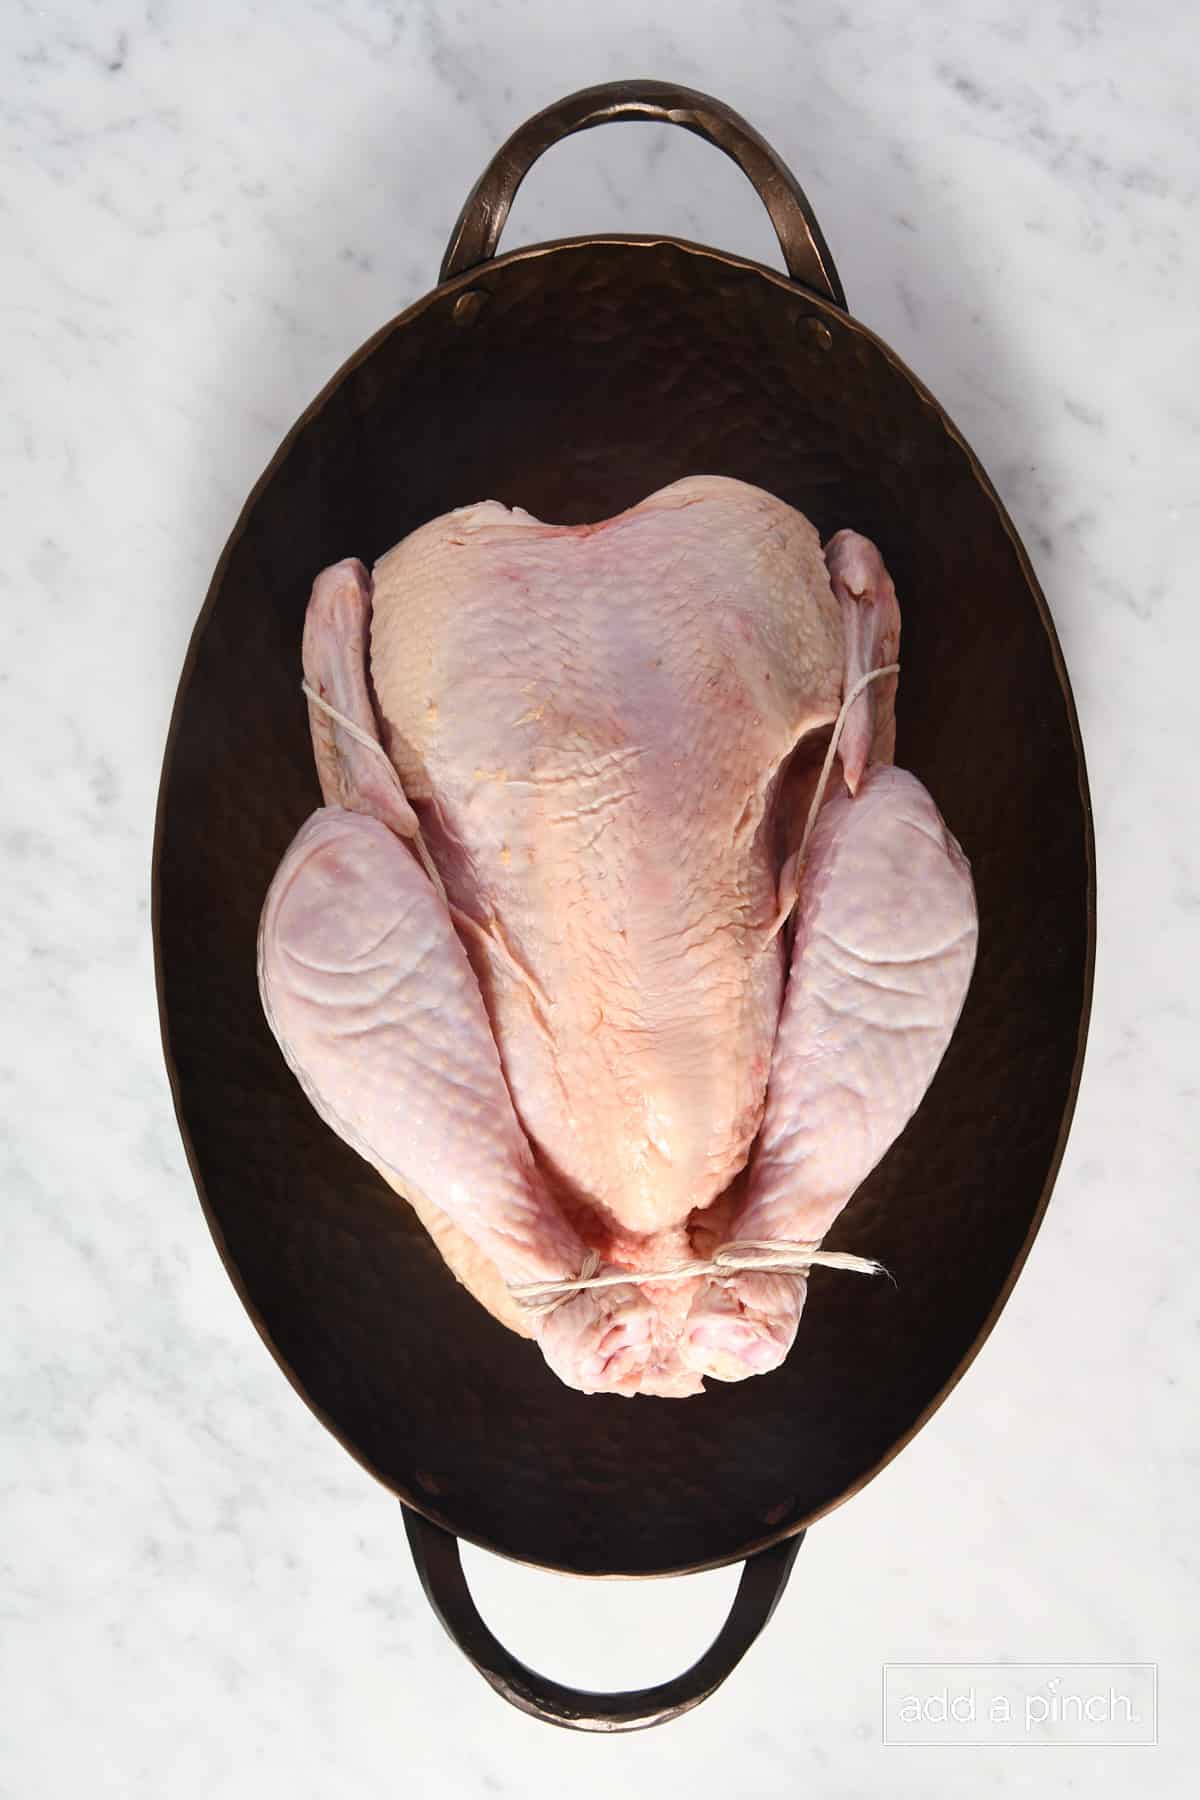
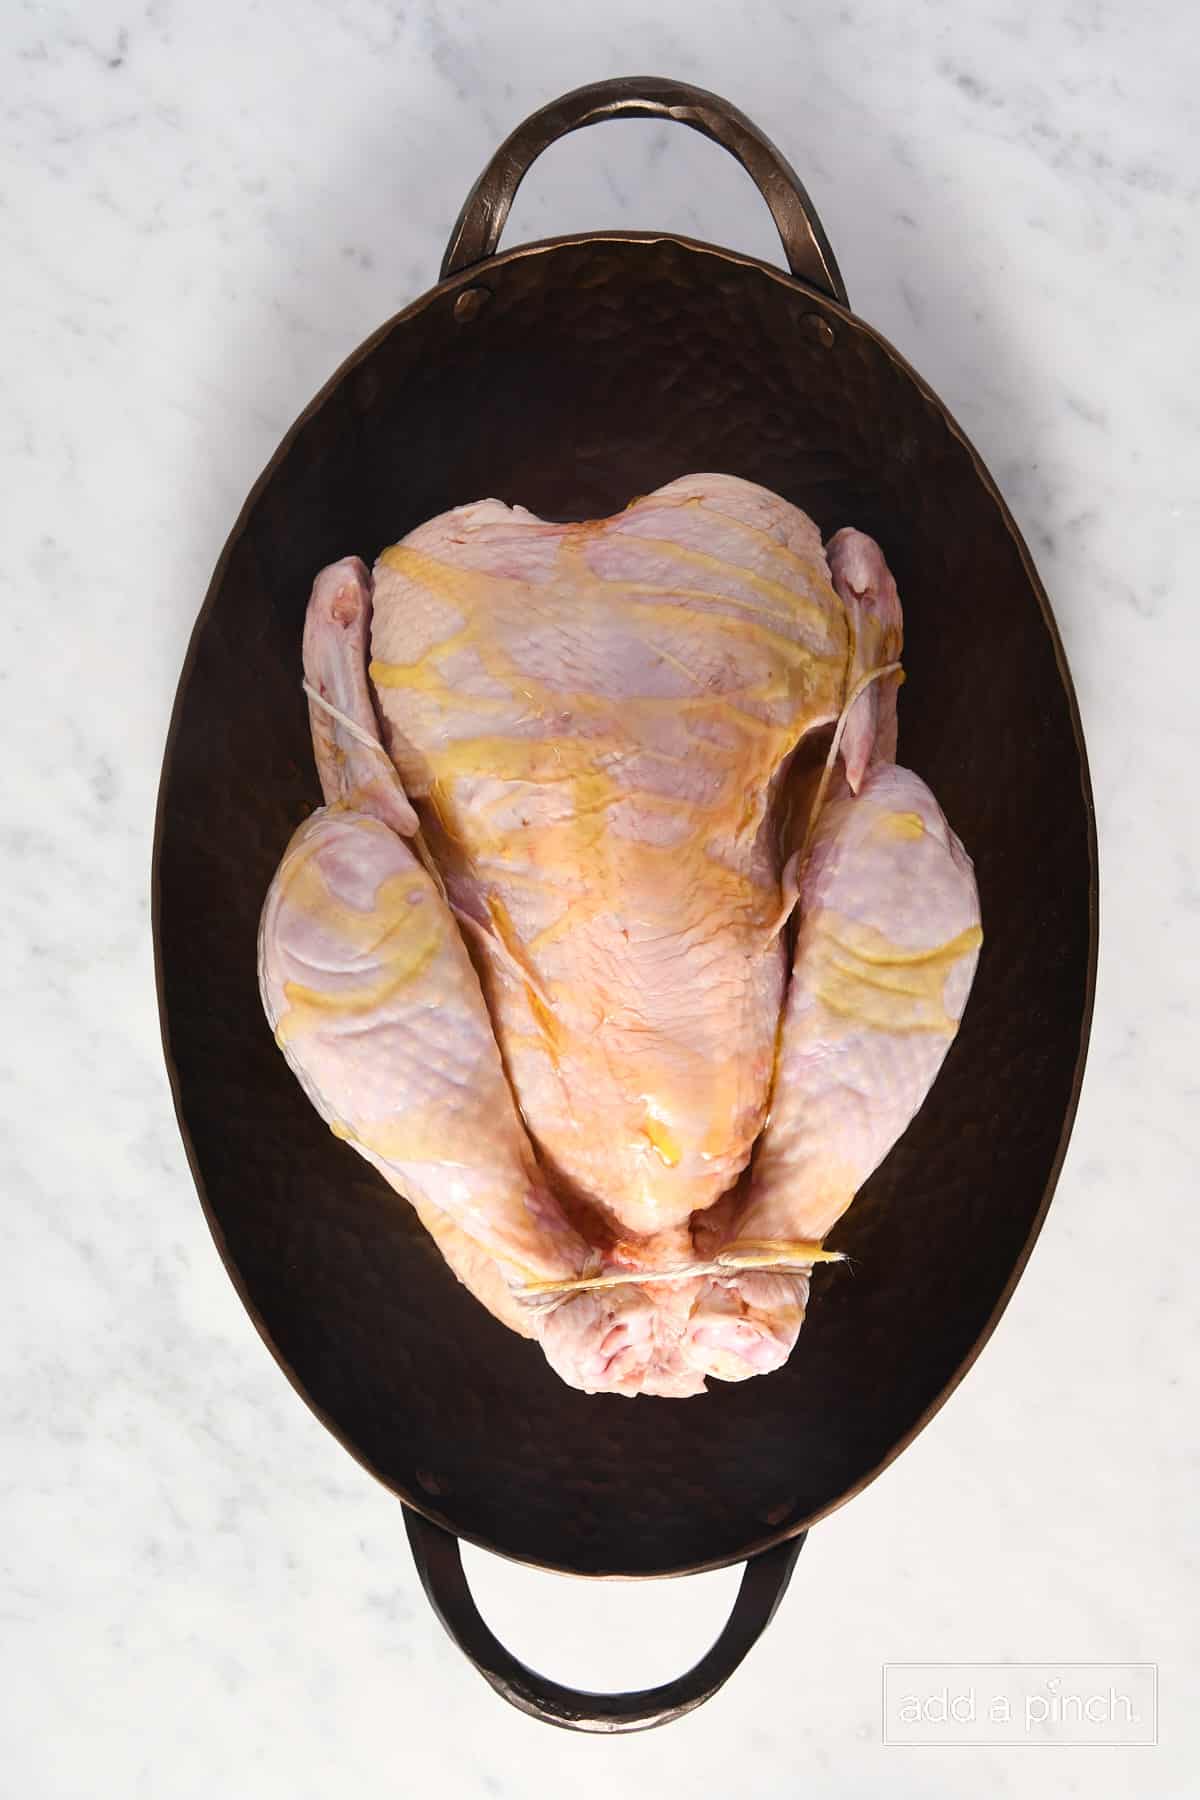
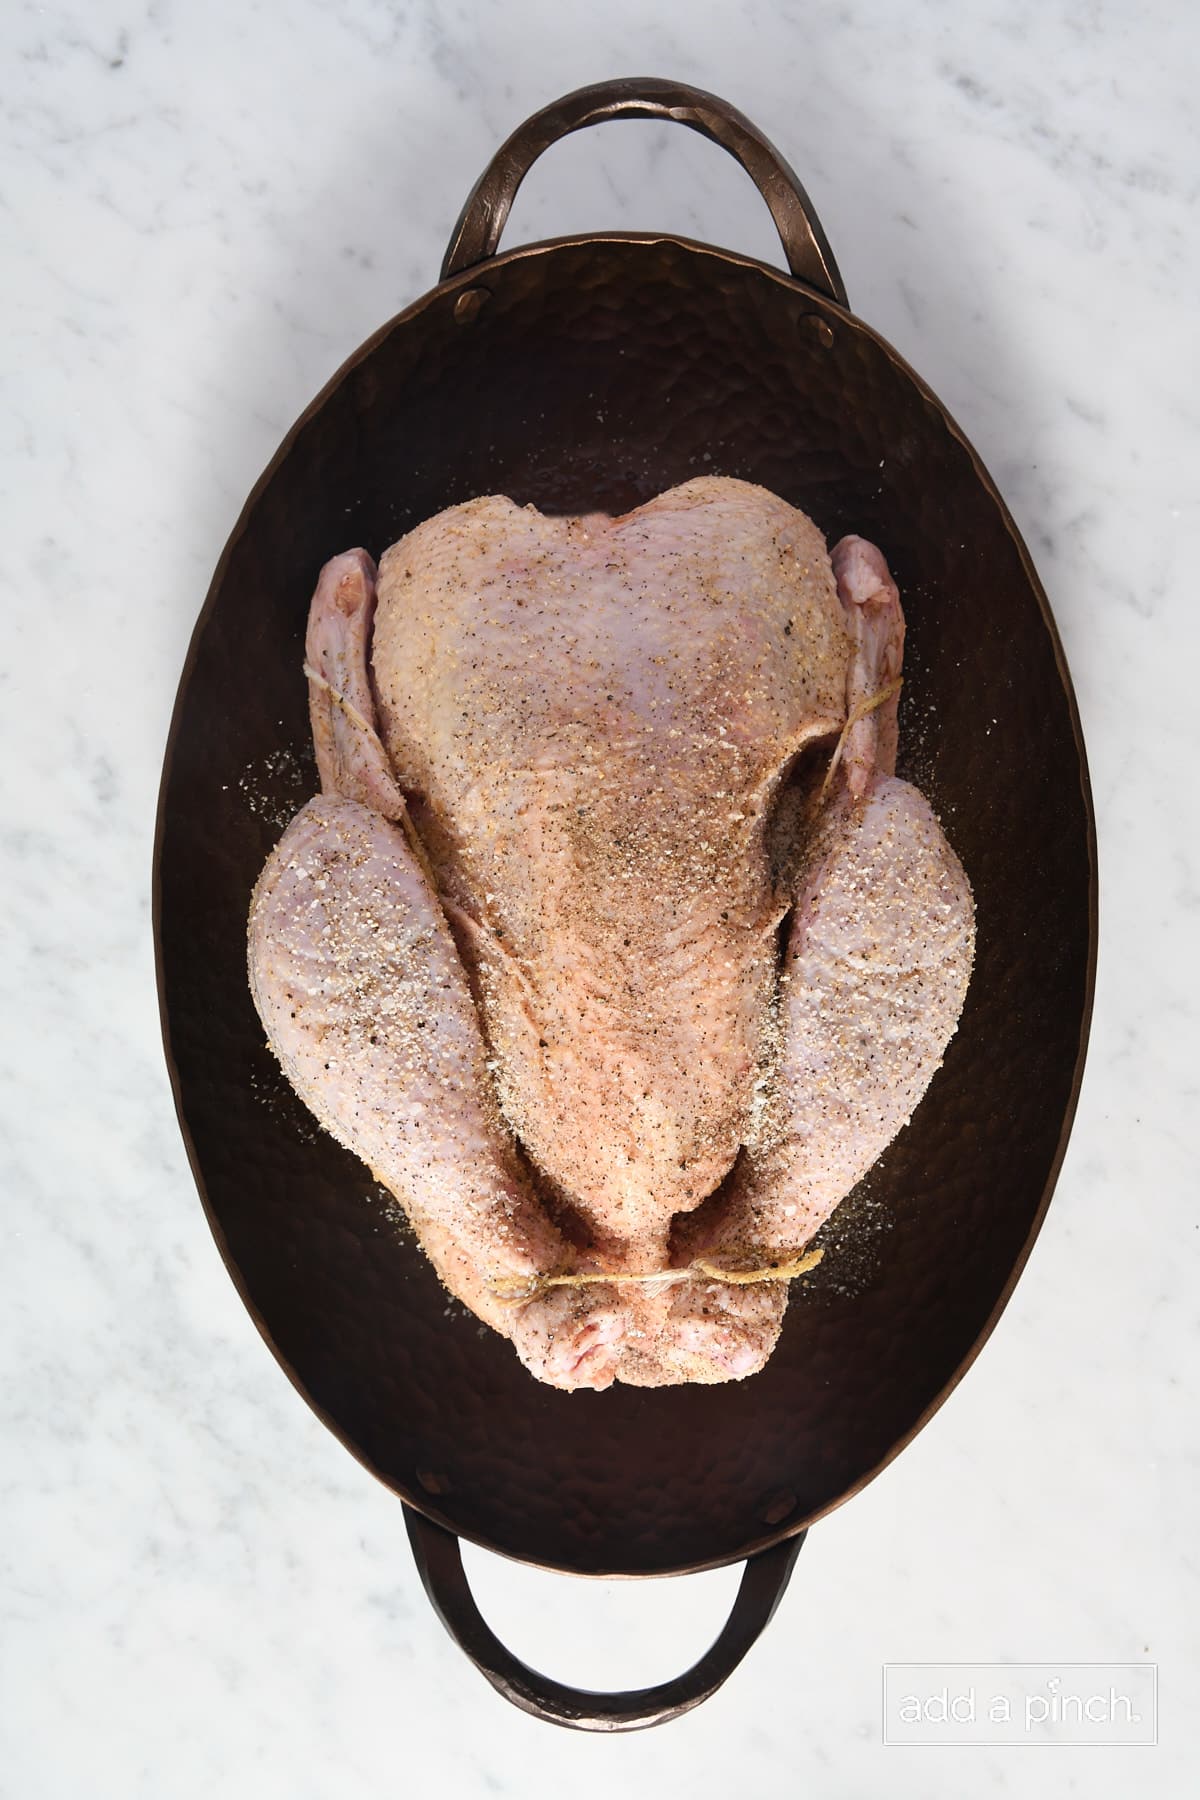
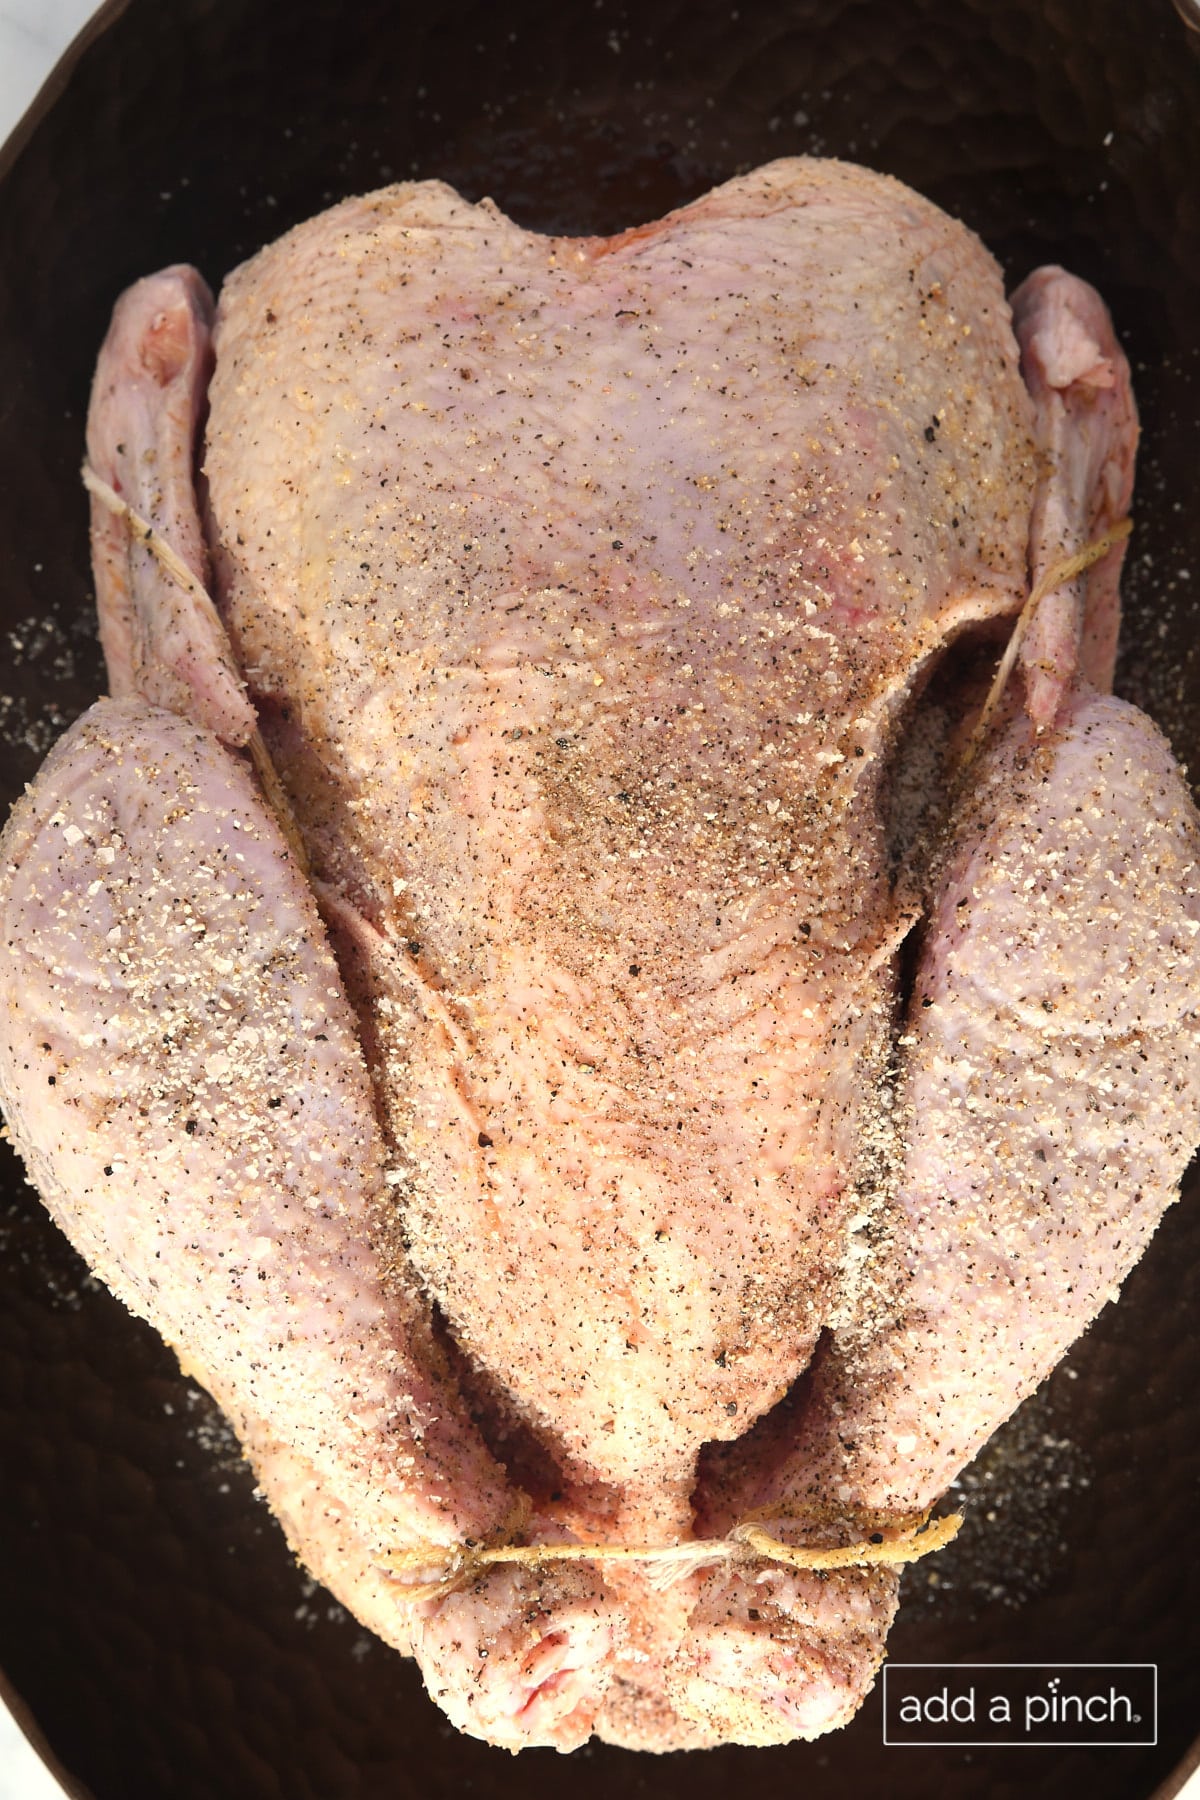
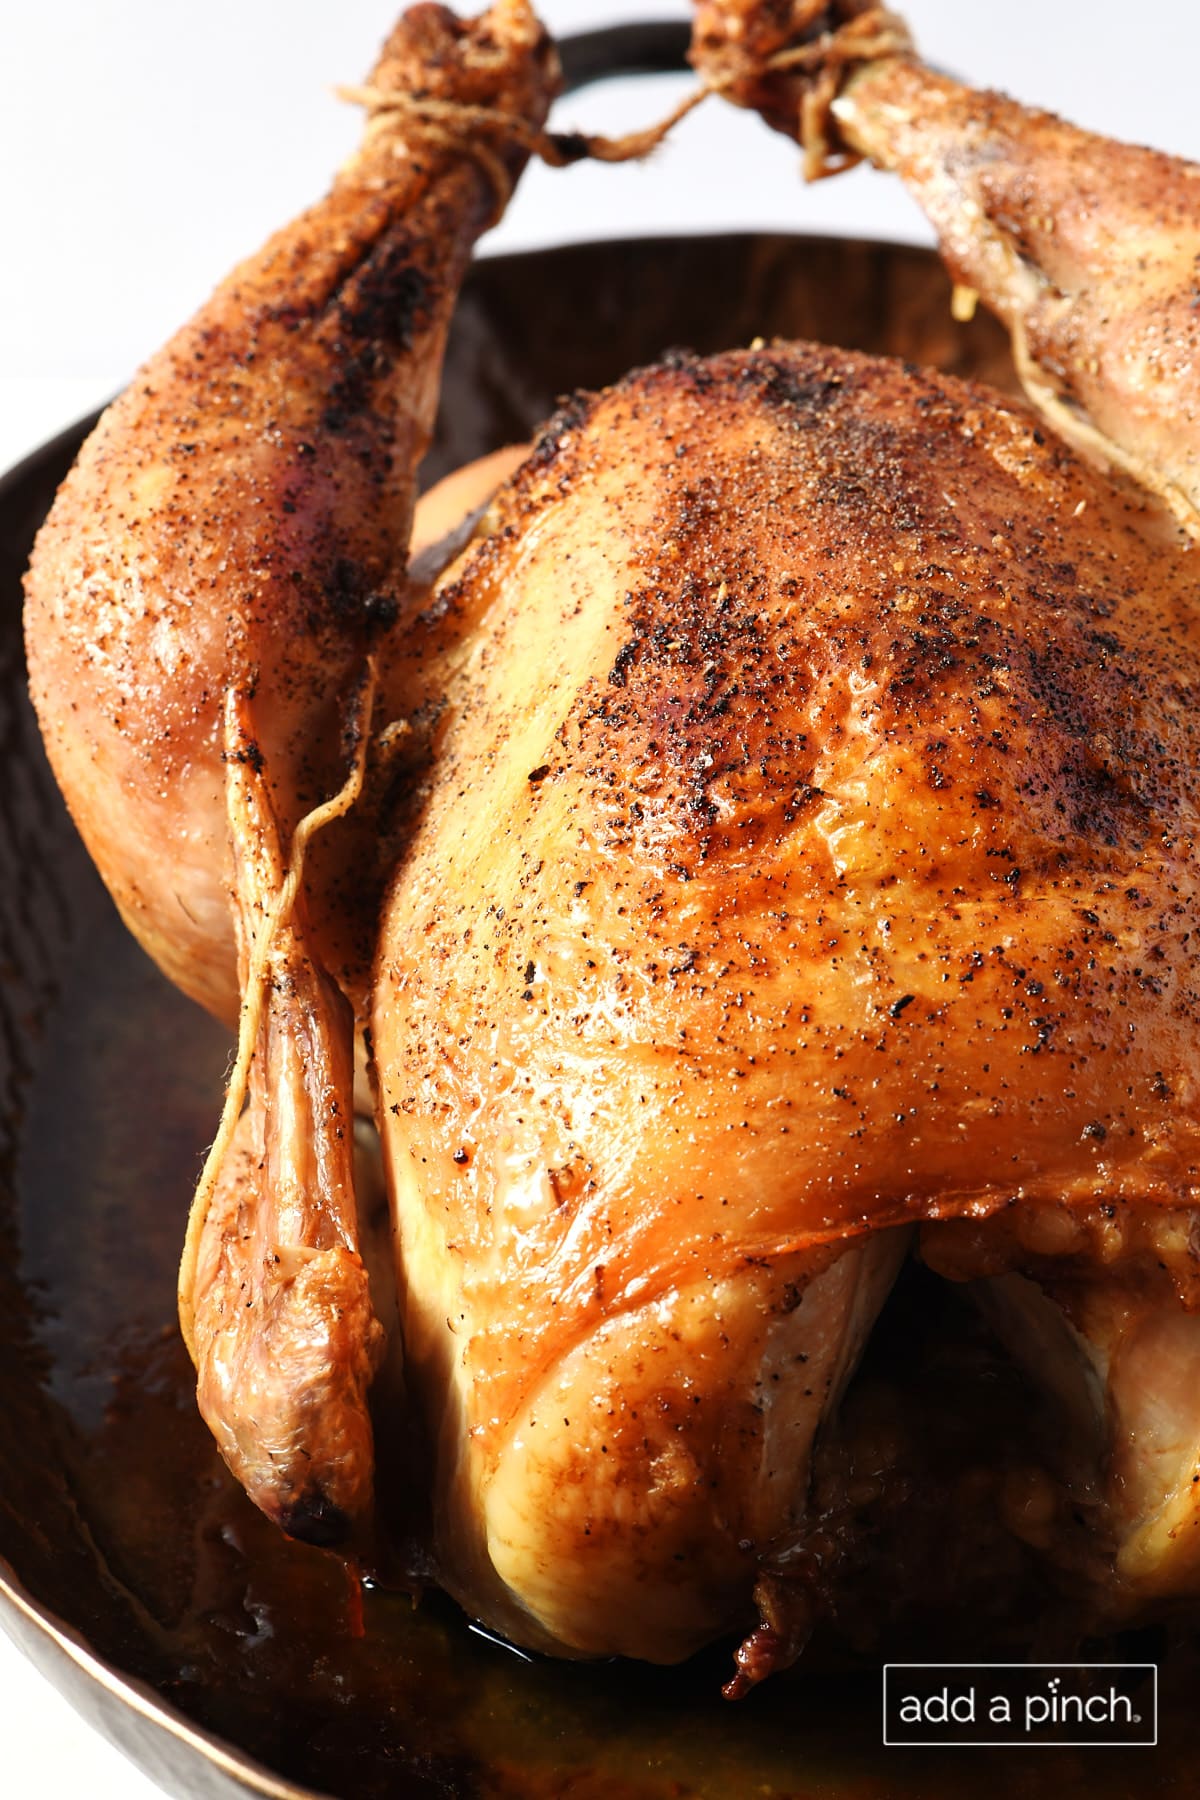
Prep. Preheat the oven to 425º F. Prep the chicken. Place your whole chicken into skillet or other oven-safe pan. Pat the chicken dry with paper towels and truss the chicken. While you don’t have to truss the chicken (and I sometimes don’t), it does help the chicken legs to cook more evenly, prevents the chicken breast from drying out, and keeps the wing tips from burning. Rub olive oil on the chicken. Drizzle the olive oil onto the chicken and then rub the olive oil all over the bird. Be sure to evenly coat the whole chicken including the bottom and sides. Season. Sprinkle the seasoning onto the chicken and press all over the chicken. Roast the chicken. Place the chicken into the preheated oven and cook until golden brown, crispy, and an instant read thermometer reads 165º F when checked in the middle of each of the thighs. See my time and temperature tips below. The juices should run clear as well. Rest. Remove the chicken from the oven and allow it to rest so the juices redistribute through the meat. To store leftovers. Place into an airtight container and store for 3 to 4 days.
Storage Tips
To make ahead. Cook the roast chicken as directed. Cool and cover with foil and store in the refrigerator for up to 4 days. To freeze. Store carved chicken in an airtight, freezer-safe container in the freezer for 6 months. Thaw in the refrigerator, reheat, and serve. Store the leftover chicken bones in an airtight, freezer-safe container in the freezer for 6 months to use for making homemade chicken stock.
Roast Chicken Pro Tips
Thaw the chicken. If the chicken is frozen, place it in the refrigerator on a rimmed baking sheet to thaw for one to two days until completely thawed. Skip washing the chicken. Washing chicken has been found to be unnecessary and spreads bacteria. Check on it, but not too much. Check the chicken about halfway through the cooking time. If it looks too brown, tent it with foil. If you do not truss the chicken, check the temperature about 20 minutes earlier. Calculate the time. Multiply the weight of the chicken (in pounds) by 15 (minutes) to determine the estimated cooking time. Use a thermometer. An instant-read thermometer is an essential kitchen tool to know when your food is properly cooked. Chicken is done when it reaches 165º F.
Here’s my Simple Roast Chicken recipe. I hope you love it as much as my family does! Enjoy!Robyn xo Originally published in 2012. Updated photographs and recipe instructions to be clearer.